Python Web Development Tutorials
Build reliable web applications and APIs with Python. Learn core patterns for routing, views, templates, forms, and ORMs. Compare popular Python web frameworks such as Flask, Django, and FastAPI, and understand when to pick WSGI vs ASGI for synchronous or async workloads. Practice authentication, authorization, caching, logging, and testing so your apps are production ready.
Free Bonus: Click here to get access to a free Flask + Python video tutorial that shows you how to build Flask web app, step-by-step.
Go from local development to deployment with containerized builds, CI and CD, and modern hosting on cloud platforms. Work with PostgreSQL, MySQL, and SQLite, serve static and media files, and add background tasks with Celery. Create REST and JSON APIs, document them with OpenAPI, and secure endpoints with session auth.
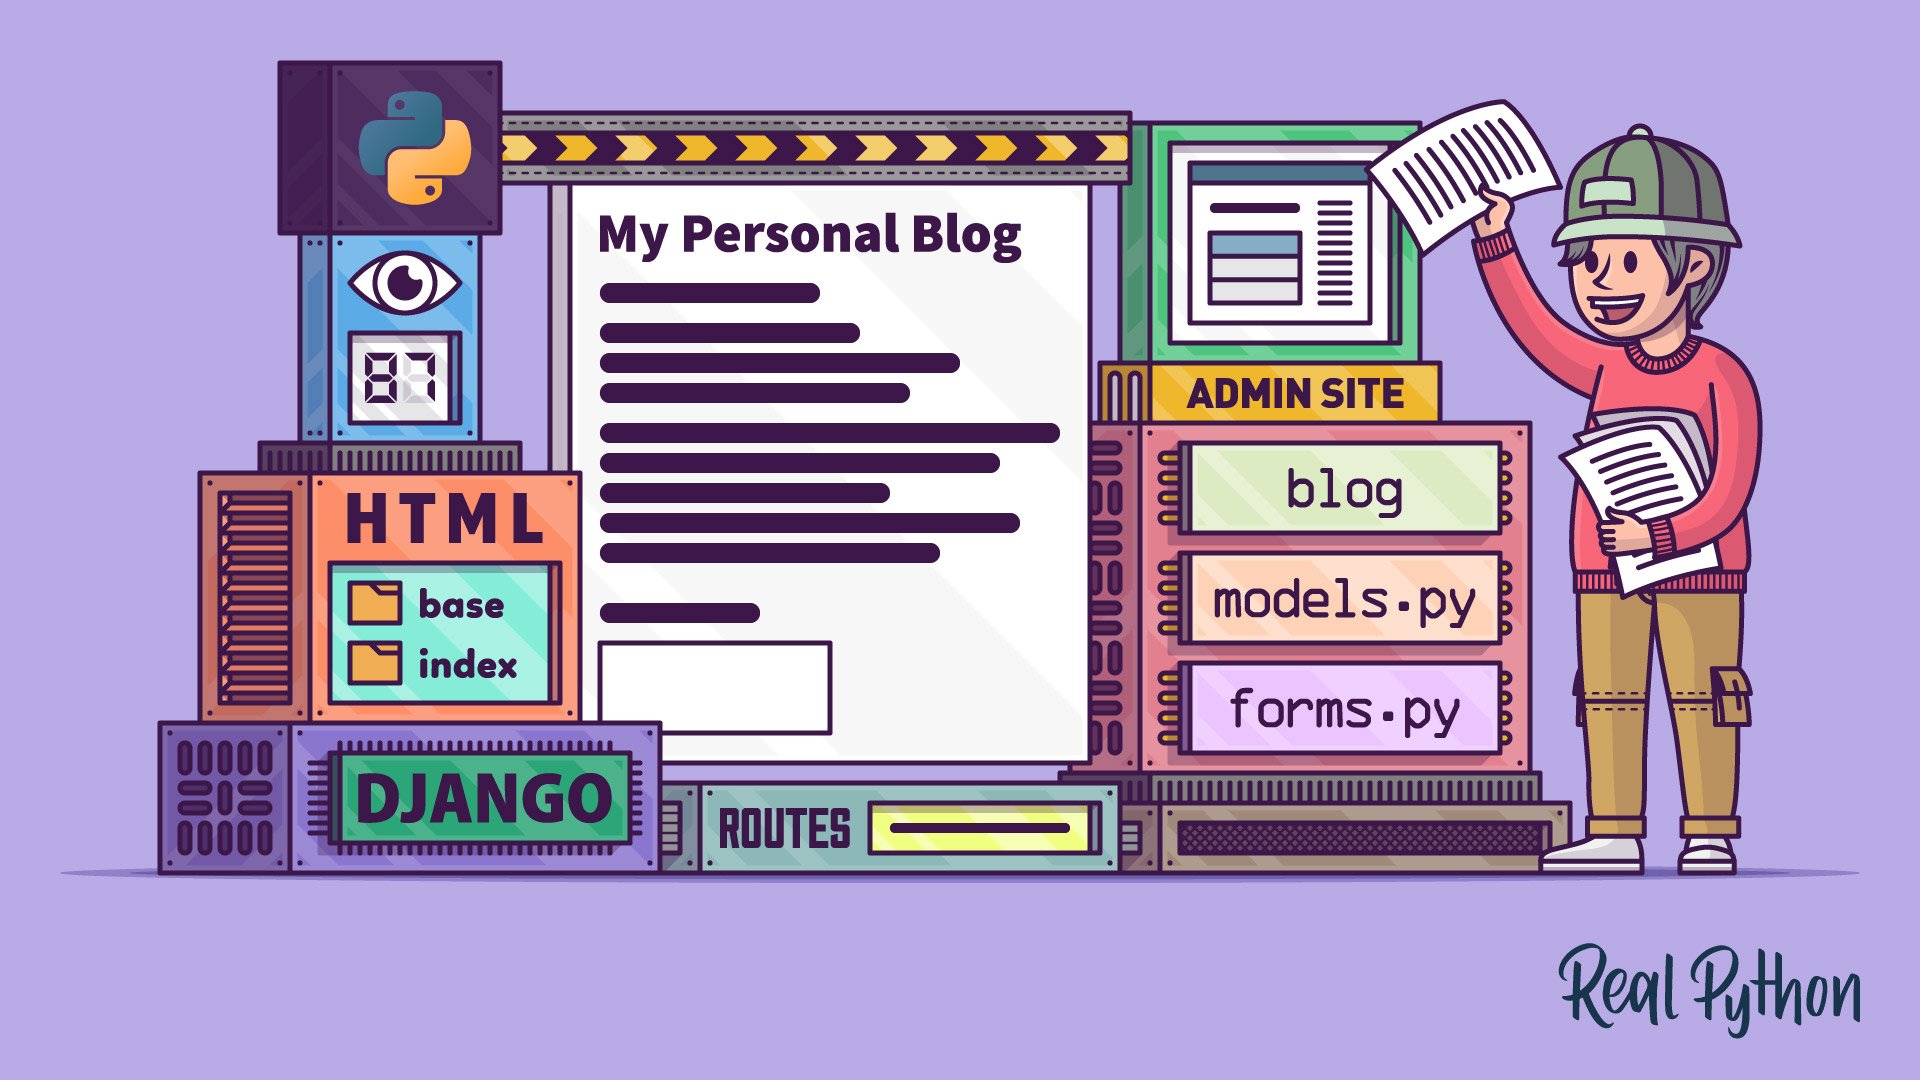
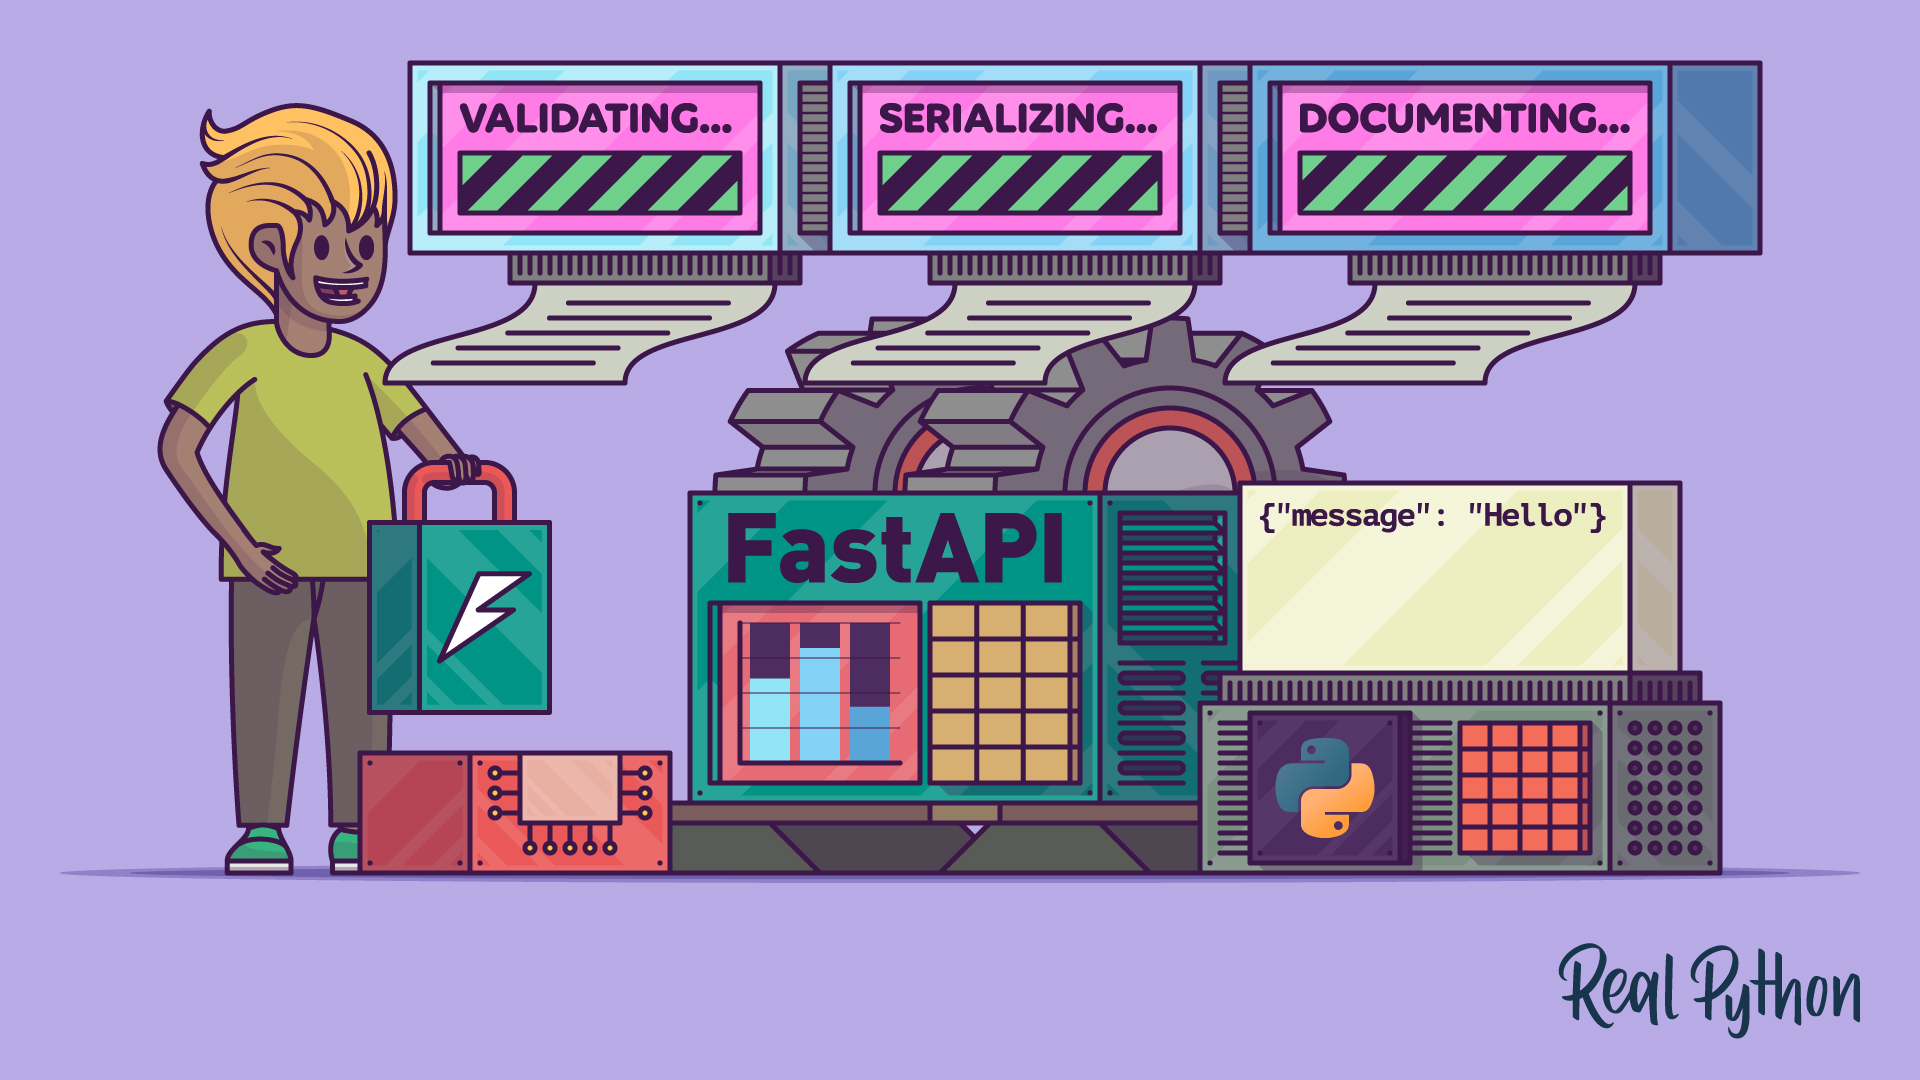
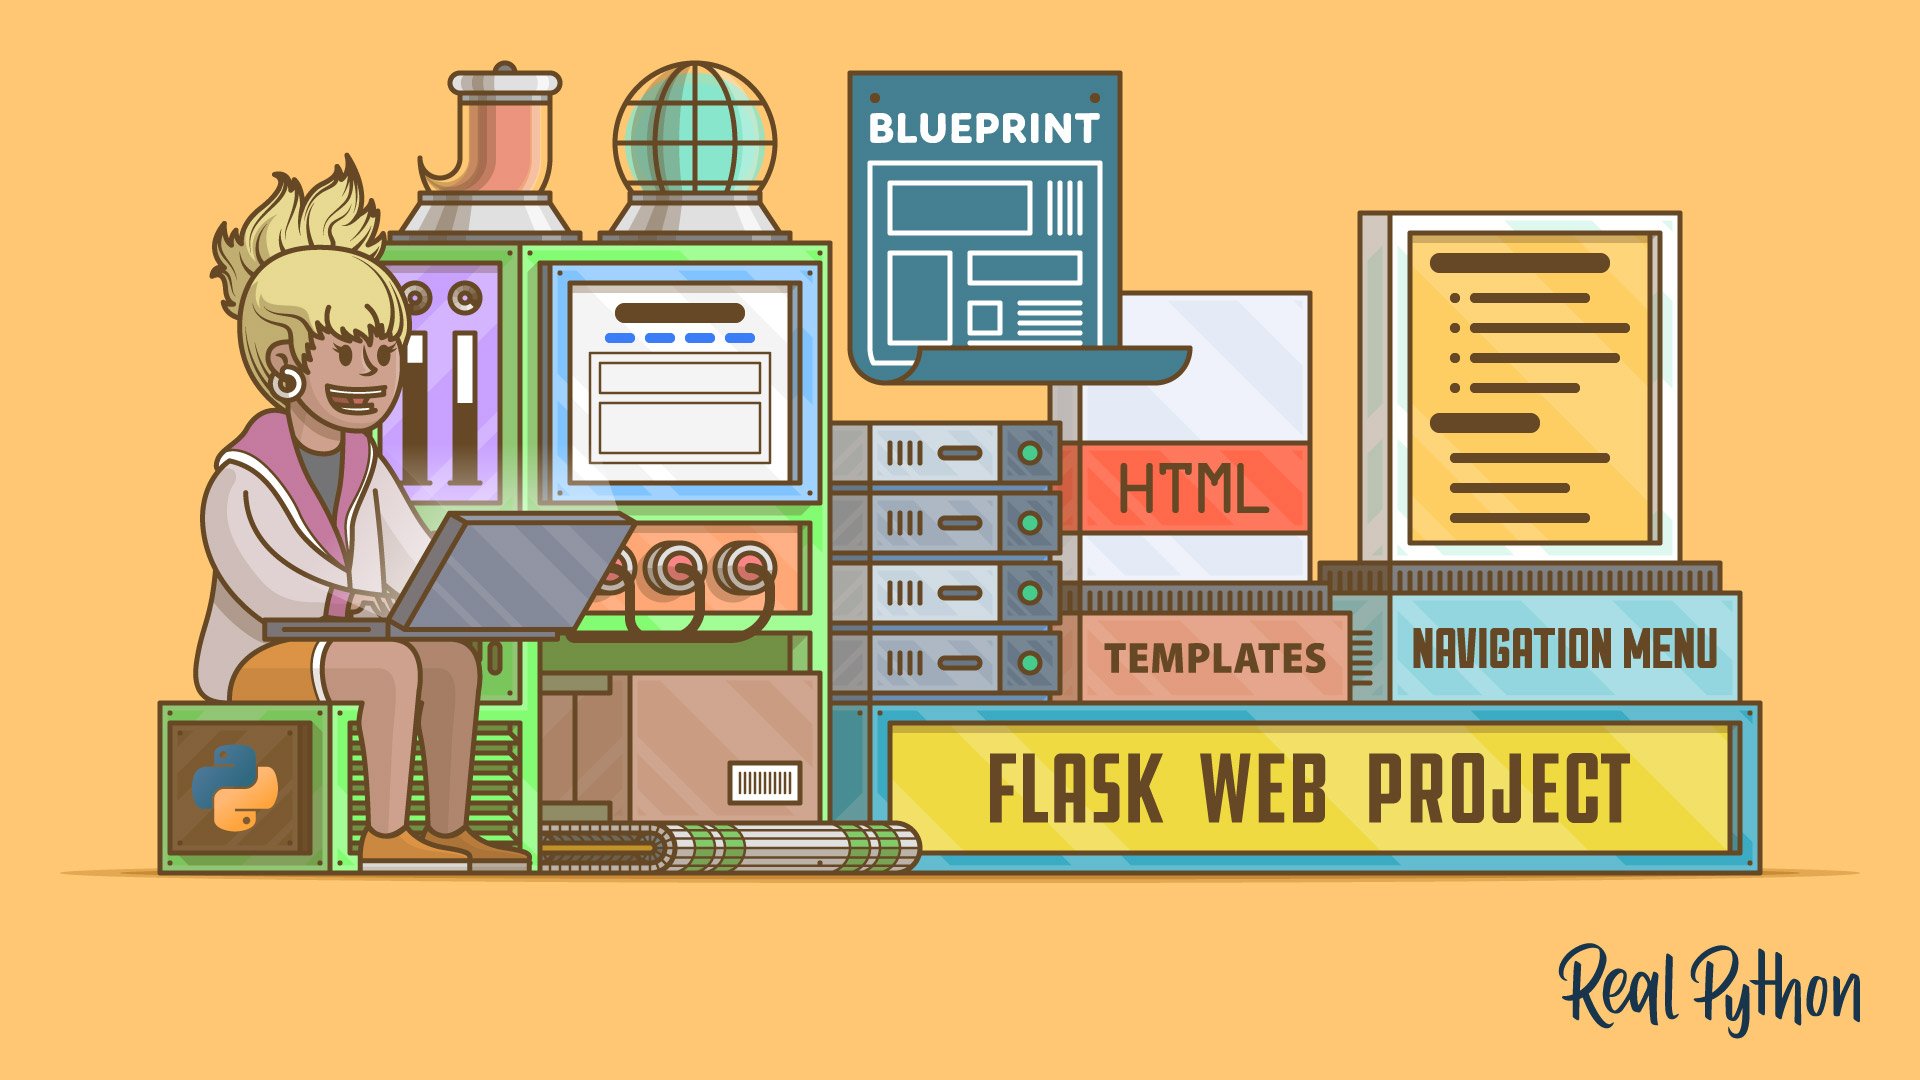
Use Flask for lightweight apps and full control. Choose Django for batteries included projects with an ORM, admin, and auth. Pick FastAPI for high performance async APIs with type hints. Match the framework to your team skills and project scope.
Define models, write view functions or class based views, and map routes. In Flask use Blueprints and pydantic for validation. In Django use Django REST Framework with serializers and viewsets. In FastAPI declare typed endpoints and get automated documentation with OpenAPI.
Set environment variables for secrets, build a Docker image, and run an application server like Gunicorn for WSGI or Uvicorn for ASGI. Put Nginx in front for TLS and static files. Use a managed database, run migrations, and add a process manager for restarts.
WSGI runs synchronous Python web apps and is a good fit for classic frameworks like Django and Flask. ASGI supports async code and long lived connections such as WebSocket. FastAPI and modern Django on ASGI can use async views for higher concurrency.
Write unit tests for business logic and integration tests for routes. Use pytest with a test client to send requests, set up a temporary database, and mock external services. Run tests in CI, measure coverage, and keep fixtures small and reusable.
Get Started With FastAPI
Sep 22, 2025 intermediate api front-end web-dev
Get Started With FastAPI
Sep 22, 2025 intermediate api front-end web-dev
Python's Requests Library (Guide)
Jul 23, 2025 intermediate web-dev

Primer on Jinja Templating
Jan 12, 2025 intermediate django flask front-end web-dev


Primer on Jinja Templating
Aug 21, 2024 intermediate django flask front-end web-dev


What Are CRUD Operations?
May 15, 2024 intermediate api web-dev