Adding a database to your Flask project comes with many advantages. By connecting a database, you’ll be able to store user information, monitor user interactions, and maintain dynamic site content.
In this tutorial, you’ll learn how to:
- Hide secrets in environment variables
- Formulate your database structure with models
- Connect your Flask app with a database
- Receive data from users with forms
By the end of this tutorial, you’ll have a robust understanding of how to connect your Flask app to a database and how to leverage this connection to expand your project’s capabilities.
Get Your Code: Click here to download the free source code for connecting a database to your Flask project.
Prerequisites
You’ll gain the most value from this tutorial if you’ve already created one or more Flask web projects yourself.
Also, you should be comfortable using the terminal and have basic knowledge of Python. Although it helps to know about virtual environments and pip, you’ll learn how to set everything up as you work through the tutorial.
Project Overview
In this tutorial, you’ll continue to work on an existing Flask project. The project at hand is a public message board.
You’ll start with an existing Flask project and then implement forms and a database. In the end, you can post and save messages:
In the demo video above, you get an impression of how you can interact with the message board. However, the functionality is very similar to other interactions with a web app. If you feel inspired to adjust the project to your needs, then this Flask project is the perfect starting ground for that.
In the next step, you’ll download the source code of the Flask boilerplate project. However, you’ll notice that the codebase is quite generic so that you can transfer the instructions of this tutorial into your own Flask project.
Get Started
In this section, you’ll download all the requirements that you need for this tutorial and set up the development environment. Generally, you can leverage this tutorial to expand any Flask project that you’re currently working on. However, if you want to follow along closely, then you should perform the steps outlined below.
Grab the Prerequisites
To hit the ground running, you’ll build upon an existing Flask boilerplate project. That way, you don’t need to create a Flask project from scratch. Instead, you can focus on the main objectives of this tutorial, like adding a database and working with forms.
The code that you need is already in place for you. All you need to do is download the source code by clicking the link below:
Get Your Code: Click here to download the free source code for connecting a database to your Flask project.
Alternatively, you can follow the Flask boilerplate project tutorial. Either way, you should end up with a folder structure that looks like this:
rp_flask_board/
│
└── board/
    │
    ├── static/
    │   └── styles.css
    │
    ├── templates/
    │   │
    │   ├── pages/
    │   │   ├── about.html
    │   │   └── home.html
    │   │
    │   ├── _navigation.html
    │   └── base.html
    │
    ├── __init__.py
    └── pages.py
Once you’ve got the folder structure for your Flask project in place, you can read on to prepare the development environment that you’ll need to work on your web app.
Prepare Your Development Environment
Before you continue working on your Flask project, it’s a good idea to create and activate a virtual environment. That way, you’re installing any project dependencies not system-wide but only in your project’s virtual environment.
Select your operating system below and use your platform-specific command to set up a virtual environment:
With the commands shown above, you create and activate a virtual environment named venv by using Python’s built-in venv module. The parenthesized (venv) in front of the prompt indicates that you’ve successfully activated the virtual environment.
If you haven’t done so already, make sure to install Flask before continuing with this tutorial:
(venv) $ python -m pip install Flask
You also need click, which you’ll use for a script to initialize the database. Generally, click comes with your Flask installation. But to be sure, you can run the pip install command explicitly:
(venv) $ python -m pip install click
With the command above, pip either installs click or outputs a message that the requirement is already satisfied.
Other than Flask and click, you’ll work with python-dotenv. Go ahead and install python-dotenv with the command below:
(venv) $ python -m pip install python-dotenv
With the help of python-dotenv, you’ll be able to read key-value pairs from an external file and keep sensitive information out of your codebase.
After following the steps above, you can verify that your Flask application is running without errors. Execute the following command in the directory containing the app.py file:
(venv) $ python -m flask --app board run --port 8000 --debug
When you run this application, a web server will start on port 8000. If you open a browser and navigate to http://localhost:8000, then you should see the Home page of your project:
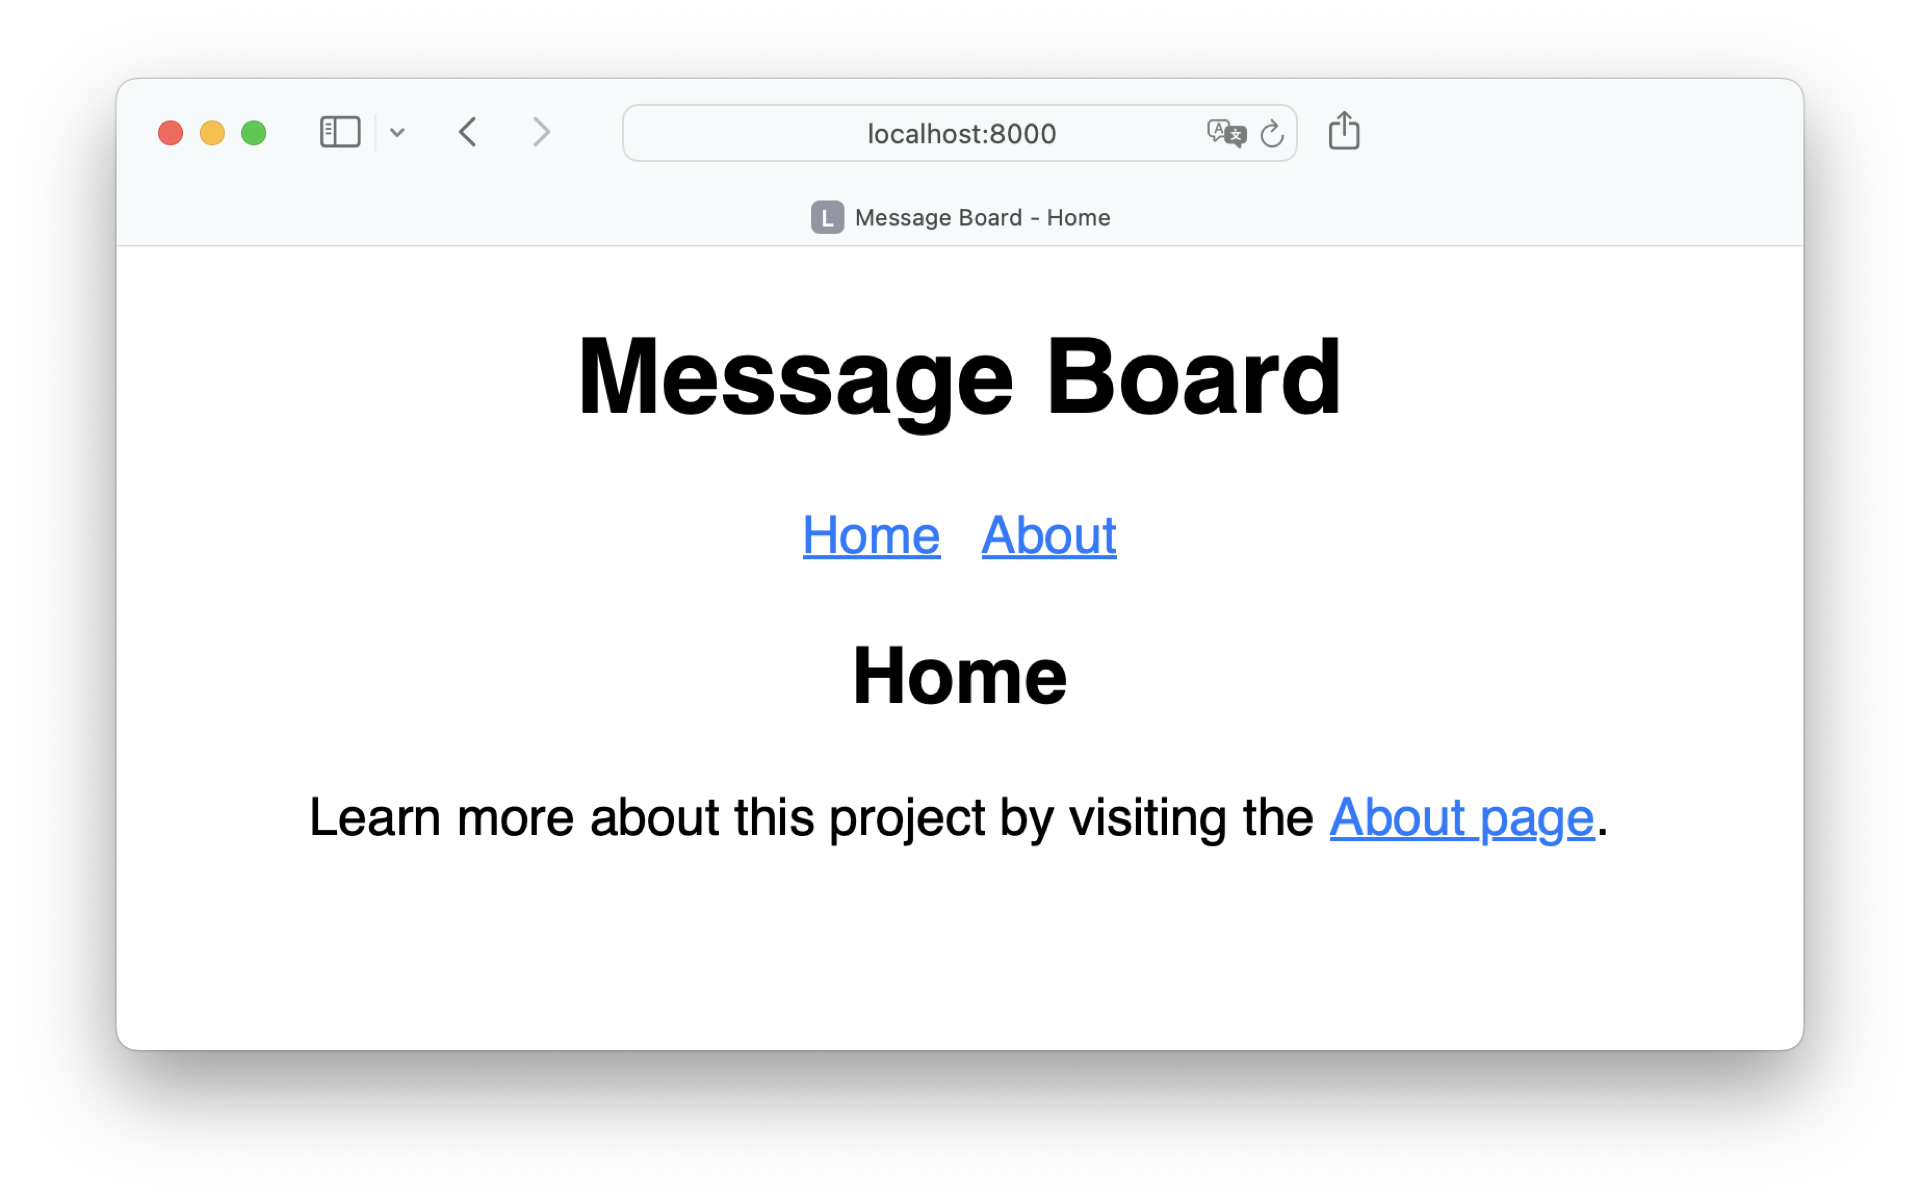
Perfect, your app is running flawlessly! Now, it’s time to write some code.
Prepare Your App for Interaction
So far, your Flask project is quite static. In this section, you’ll add two new pages to the web app so users can interact with it. One page will be for posting a message and another one for displaying any posts in the future.
In this tutorial, you’ll focus on building a message board app, but this same approach can be helpful for any Flask project that contains interaction with users.
Start With the Templates
Your project already contains a base template, which is designed to provide a consistent structure for your project while allowing flexibility in specific parts of the content by leveraging the Jinja template engine. With child templates, you can extend the base.html base template that you can find in the templates/ folder. If you want to see how child templates look, then you can check out home.html and about.html in the pages/ subfolder.
Once you’ve got an impression of how child templates are structured, create a subfolder named posts/ inside templates/. Then, create a template for your form in the posts/ subfolder of your templates/ folder:
board/templates/posts/create.html
{% extends 'base.html' %}

{% block header %}
  <h2>{% block title %}Add Post{% endblock title %}</h2>
{% endblock header %}

{% block content %}
  <form method="post">
    <div class="form-group">
        <label for="author">Your Name</label>
        <input type="text" name="author" id="author" value="{{ request.form['author'] }}" class="form-control">
    </div>
    <div class="form-group">
        <label for="message">Your Message</label>
        <textarea name="message" id="message" class="form-control">{{ request.form['message'] }}</textarea>
    </div>
    <div class="form-group">
        <input type="submit" value="Post Message" class="submit-btn">
    </div>
</form>
{% endblock content %}
To connect the child template with its parent template, you must add an {% extends %} tag at the top of the file.
Child templates also contain {% block %} tags.
By providing the block’s name as an argument, you’re connecting the blocks from the child template with the blocks from the parent template.
Inside the content block, you’re creating the HTML markup for a form that asks for a name and a message.
To see the messages later, you also need a page where you display all posted messages. For this Posts page, create a template named posts.html in the posts/ directory:
board/templates/posts/posts.html
{% extends 'base.html' %}

{% block header %}
  <h2>{% block title %}Posts{% endblock title %}</h2>
{% endblock header %}

{% block content %}
  {% for post in posts %}
    <article>
      <p class="message">{{ post["message"] }}<p>
      <aside>Posted by {{ post["author"] }} on {{ post["created"].strftime("%b %d, %Y at %I:%M%p") }}</aside>
    </article>
  {% endfor %}
{% endblock content %}
Just like in create.html, you extend the base template. Then, you add the headline of the page inside the header block. By nesting the headline in the title block, you also add the headline as the title of the page.
Inside the content block, you loop through all posts and show the message, the author, and a formatted timestamp.
Next, you’ll build the functionality to use the form and return all posts. For this, you’ll create and register a new blueprint in your Flask project.
Register a New Blueprint
In Flask, blueprints are modules that contain related views that you can conveniently import in your __init__.py file. You do this already for the Pages module. Now, you’ll create a blueprint for your Posts functionality.
Create a file named posts.py in the board/ folder and add the content below:
board/posts.py
from flask import Blueprint, render_template

bp = Blueprint("posts", __name__)

@bp.route("/create", methods=("GET", "POST"))
def create():
    return render_template("posts/create.html")

@bp.route("/posts")
def posts():
    posts = []
    return render_template("posts/posts.html", posts=posts)
After importing Blueprint, you create an instance of it named bp.
The first argument, "posts", is the name of your blueprint. You’ll use this name to identify this particular blueprint in your Flask project. The second argument is the blueprint’s import_name. You’ll use it later when you import posts into __init__.py.
Then, you define two routes, one as the create view and the other as the posts view. They return the rendered templates, which you created a moment ago. Later, you’ll enhance the views even more. But for now, it’s okay to have them in this basic state. That way, you can verify that the templates load correctly before adding any database interaction on top of that.
Next, you need to connect the posts blueprint with your Flask project:
board/__init__.py
from flask import Flask

from board import pages, posts

def create_app():
    app = Flask(__name__)

    app.register_blueprint(pages.bp)
    app.register_blueprint(posts.bp)
    return app
Once you’ve imported and registered the posts blueprint in your application factory, you can visit the routes that you defined in posts.py in your browser. For example, when you visit http://localhost:8000/create, then you can see the form to add posts:
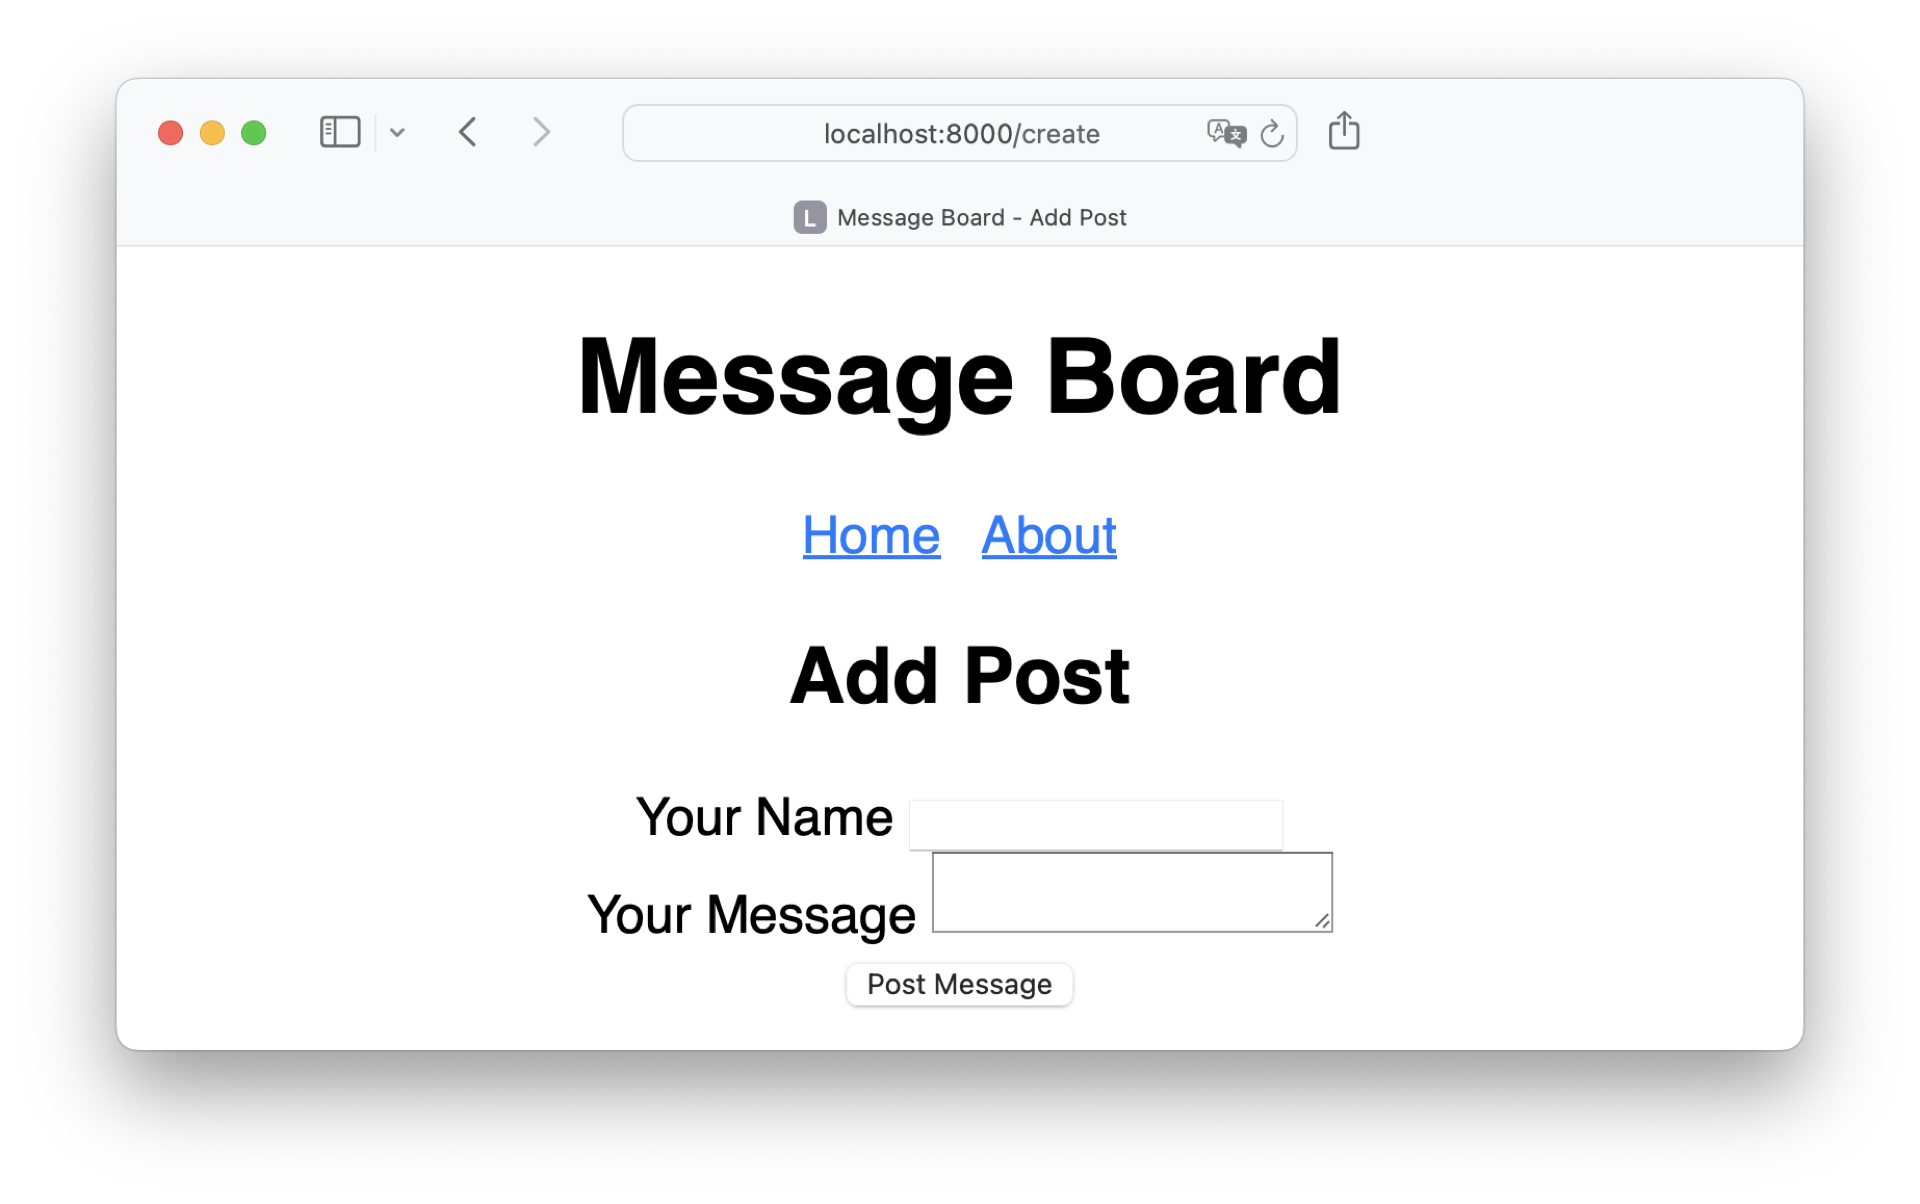
When you fill out the form and press the Post Message button, the page reloads. However, you don’t save any posts in the database yet. That’s what you’ll tackle in a moment. But before doing so, you need to make a short detour for some important preparations.
Hide Your Secrets
You’re currently developing your Flask project on your local computer. But once you want to make it available to your users, you may want to deploy it to the web.
It makes sense to use different settings for different environments. Your local development environment may use a differently named database than an online production environment.
On top of that, you’ll work with sensitive information like passwords or database names that nobody should be able to see. Still, your Flask project needs to be able to obtain this information. That’s when environment variables come into play.
Define Environment Variables
To be flexible, you store this information in special variables that you can adjust for each environment. While you won’t take steps to host your app online in this tutorial, you’ll build your app in a way that enables you to deploy it to the cloud in the future.
Note: If you want to learn more about deployment, then check out Python Web Applications: Deploy Your Script as a Flask App or Deploying a Python Flask Example Application Using Heroku.
Start by creating a .env file in the root directory of your project. For now, only add an ENVIRONMENT variable to it:
.env
ENVIRONMENT="Development"
You can think of environment variables as constants that store important information that you’ll read but not overwrite in your code.
By saving your environment variables externally, you’re following the twelve-factor app methology. The twelve-factor app methodology defines twelve principles to enable developers to build portable and scalable web applications. One principle is to store the configuration of your app in the environment:
An app’s config is everything that is likely to vary between deploys (staging, production, developer environments, etc.). This includes:
- Resource handles to the database, Memcached, and other backing services
- Credentials to external services such as Amazon S3 or Twitter
- Per-deploy values such as the canonical hostname for the deploy
The twelve-factor principles require strict separation of config from code. Config varies substantially across deploys, and code does not. (Source)
One recommendation is to have different .env files for different environments.
Also, you should never add the .env file to your version control system, as your environment variables may store sensitive information.
Note: If you’re sharing your code with other developers, then you may want to show in your repository what their .env files should look like. In that case, you can add .env_sample to your version control system. In .env_sample, you can store the keys with placeholder values. To help yourself and your fellow developers, don’t forget to write instructions in your README.md file on how to copy .env_sample and store the correct values in the file.
To check if Python can load your environment variables, start a Python REPL session and perform the commands below:
>>> import os
>>> from dotenv import load_dotenv
>>> load_dotenv()
True

>>> print(os.getenv("ENVIRONMENT"))
Development
After importing the os module and load_dotenv() from the python-dotenv package, you call load_dotenv() to load environment variables. By default, load_dotenv() looks for a .env file in your current working directory. Finally, you use the print() function to show the value of the environment variable ENVIRONMENT, which you’ve set to "Development" before.
Create Environment Variables for Flask
While the purpose of the ENVIRONMENT variable in your .env file is mainly for testing, it’s time to add two environment variables that you’ll need in your Flask project:
FLASK_SECRET_KEY: A secure identifier allowing the server to validate the integrity of your data. You’ll create the secret key in a moment.FLASK_DATABASE: The name of the database that you’ll use in your development environment. In this tutorial, the database name isboard.sqlite.
FLASK_SECRET_KEY will be a random string of characters that Flask uses to encrypt and decrypt data, such as tokens or session data. If you need to create cryptographically secure data, like a Flask secret key, then you can use Python’s secrets module:
>>> import secrets
>>> secrets.token_hex()
'c874b801a7caf1be80c5ff8900a3dad08c7de89c'
The .token_hex() method returns a hexadecimal string containing random numbers and letters from 0 to 9 and a to f. Copy the value that secrets.token_hex() outputs and add it, as well as the name of your database, to your .env file:
.env
ENVIRONMENT="Development"
FLASK_SECRET_KEY=c874b801a7caf1be80c5ff8900a3dad08c7de89c
FLASK_DATABASE=board.sqlite
By choosing exactly the names FLASK_SECRET_KEY and FLASK_DATABASE, you work with builtin configuration variables that Flask provides. Using environment variable names that Flask knows will lower the effort to configure your Flask project when loading environment variables in Flask.
Load Environment Variables Into Flask
In an earlier section, you verified that you can load environment variables with python-dotenv. Now you can confidently implement a similar functionality into your Flask project by adding the highlighted code below to your __init__.py file:
board/__init__.py
 1import os
 2from dotenv import load_dotenv
 3from flask import Flask
 4
 5from board import pages, posts
 6
 7load_dotenv()
 8
 9def create_app():
10    app = Flask(__name__)
11    app.config.from_prefixed_env()
12
13    app.register_blueprint(pages.bp)
14    app.register_blueprint(posts.bp)
15    print(f"Current Environment: {os.getenv('ENVIRONMENT')}")
16    print(f"Using Database: {app.config.get('DATABASE')}")
17    return app
Like before, you first import os and load_dotenv. Then, you use load_dotenv() to load the environment variables from a .env file into the application’s environment. These environment variables are then accessible throughout the application once you run app.config.from_prefixed_env().
In lines 15 and 16, you’re printing the name of the current environment and the database.
You may notice that you’re using two different approaches to get the environment variables.
In line 15, you use os.getenv(), and in line 16, you use app.config.get().
When you use app.config.from_prefixed_env() as you do in line 11, you have access to all environment variables that start with FLASK_. Then, you can access them with app.config.get() with the variable named after this prefix. That’s why you pass DATABASE instead of FLASK_DATABASE into .get(). For any other environment variables that don’t start with FLASK_, you can use os.getenv().
You can see the contents of ENVIRONMENT and FLASK_DATABASE when you restart your Flask development server:
(venv) $ python -m flask --app board run --port 8000 --debug
Current Environment: Development
Using Database: board.sqlite
 * Serving Flask app 'board'
 * Debug mode: on
...
In the output of your server, you can see that Flask loads your environment variables successfully. Next, you’ll use Flask’s environment variables to connect a database to your project.
Work With a Database in Flask
When building a Flask web project, incorporating a database is a crucial step toward enhancing the functionality and scalability of your application. A database provides a structured and efficient way to store, retrieve, and manage data.
The database engine that you’ll use in this tutorial is SQLite. SQLite stores the entire database as a single file on the disk, simplifying database management and reducing the complexity of deployment. Moreover, Python comes with a built-in SQLite module that’s ready for you to use out of the box.
This combination of simplicity, ease of use, and minimal configuration requirements makes SQLite an ideal choice for small Flask web projects.
Define the Database Schema
Before connecting a database to your Flask project, you’re going to define a database schema. A database schema is basically a recipe for how you want the database to be structured. It contains a model for all the tables and columns of your database.
Note: The model that you’ll define below matches the message board project. Feel free to adjust the fields to match your Flask project.
Create a new file named schema.sql in your board/ directory and add the SQL code below:
board/schema.sql
DROP TABLE IF EXISTS post;

CREATE TABLE post (
  id INTEGER PRIMARY KEY AUTOINCREMENT,
  created TIMESTAMP NOT NULL DEFAULT CURRENT_TIMESTAMP,
  author TEXT NOT NULL,
  message TEXT NOT NULL
);
In this schema.sql file, you’re setting up the foundational structure for the message board by defining a post table. Initially, you’re ensuring that any existing post table is removed with DROP TABLE IF EXISTS, preventing any conflicts when you initialize your database. Then, you create a new post table with four fields:
idas an auto-incrementing integer primary keycreatedto store the timestamp of post creation with a default value of the current timestampauthorto hold the author’s namemessageto contain the post’s text content
With this structure, you instruct your database on how to store and organize message board posts. You’ll use schema.sql when you want to initialize a new database or overwrite an existing one.
Initialize Your Database
When you run your Flask project, you want to either initialize the database if it doesn’t exist yet or connect to it if the database exists. For now, focus on the database initialization process. Later, you’ll take care of connecting to an existing database.
Create a new file named database.py in your board/ directory. This module will contain the functionality for setting up and connecting to your database:
board/database.py
 1import sqlite3
 2import click
 3from flask import current_app, g
 4
 5def init_app(app):
 6    app.cli.add_command(init_db_command)
 7
 8@click.command("init-db")
 9def init_db_command():
10    db = get_db()
11
12    with current_app.open_resource("schema.sql") as f:
13        db.executescript(f.read().decode("utf-8"))
14
15    click.echo("You successfully initialized the database!")
16
17def get_db():
18    if "db" not in g:
19        g.db = sqlite3.connect(
20            current_app.config["DATABASE"],
21            detect_types=sqlite3.PARSE_DECLTYPES,
22        )
23        g.db.row_factory = sqlite3.Row
24
25    return g.db
There’s quite a bit going on in database.py, so take a moment to study what’s happening in detail. Start with having a look at your imports. In the first three lines, you import:
- The
sqlite3module, a built-in Python module for interacting with SQLite databases click, a Python package for creating command-line interfaces (CLI)current_appandg, two specific Flask objects that help you interact with your application and its storage
The current_app object points to the Flask application handling the current activity. You can use it to access application-specific data like your environment variables. The use of current_app makes your code more flexible, especially when you work with an application factory, as you do in your __init__.py file.
With g, Flask provides you with a global namespace object that you can use as temporary storage when a user makes a request, such as sending a form. Each request has its own g object, which resets at the end of the request. This is useful for storing data that might be accessed multiple times during the request, such as a database connection, avoiding the need to create new connections for every single database operation within the same request.
After your import statements, you add the code to connect to the database:
- Line 5 defines the
init_app()function, carries the core logic for database initialization, and integrates a new command into the Flask application’s CLI by addinginit_db_command()in line 9 as a CLI command by decorating the function withclick.command(). - Line 10 calls
get_db()and receives a database connection. - Line 13 reads and executes the SQL commands from
schema.sql. As this file contains SQL statements for creating tables and setting up the database schema, it’ll prepare the database for the application’s data. - Line 15 prints a message indicating that the database was successfully initialized.
- Line 17 defines
get_db(), which returns a database connection in line 25. With the conditional statement in line 18, you either return an existing connection or establish a new one first. - Lines 19 to 22 use the
sqlite3module to create a database connection, pointing to the database name that you defined in your environment variables. - Line 23 sets
row_factorytosqlite3.Row, which allows you to access the column by name. This means you can interact with your database similarly to interacting with a dictionary.
With this code, you set up a command-line interface for your Flask project. When you execute init-db in the terminal, you either initialize the database or reset an existing database. Before you can perform the init-db command, you need to register the database in your Flask application factory:
board/__init__.py
import os
from dotenv import load_dotenv
from flask import Flask

from board import pages, posts, database

load_dotenv()

def create_app():
    app = Flask(__name__)
    app.config.from_prefixed_env()

    database.init_app(app)

    app.register_blueprint(pages.bp)
    app.register_blueprint(posts.bp)
    print(f"Current Environment: {os.getenv('ENVIRONMENT')}")
    print(f"Using Database: {app.config.get('DATABASE')}")
    return app
When you run your create_app() application factory, you execute database.init_app() with your current app as an argument. Since you only registered init_db_command as a command in init_app(), Flask doesn’t automatically perform the database initialization when you start the development server. Instead, you can now execute the command manually in the terminal:
(venv) $ python -m flask --app board init-db
Current Environment: Development
Using Database: board.sqlite
Initialized the database: board.sqlite
When you run init-db, you create a brand-new database in the root directory of your Flask project. You should find a file named board.sql next to your board/ folder.
You can run the command above every time you want to start fresh and initialize an empty database. That also means that you must use this command with caution, as you delete the content of any existing database when you execute init-db.
Close Database Connections
So far, you’ve added the code to connect to your database. That way, you paved the way for your Flask project to interact with the database. After any database interaction, you need to make sure to close the database connection again. You do this by registering a teardown function to your app context:
board/database.py
# ...

def init_app(app):
    app.teardown_appcontext(close_db)
    app.cli.add_command(init_db_command)

# ...

def close_db(e=None):
    db = g.pop("db", None)

    if db is not None:
        db.close()
In init_app(), you register the close_db() function to your app. By passing close_db into .teardown_appcontext(), you make sure to call close_db() when the application context closes. The application context in Flask is created for each request, and it’s where the Flask app handles all the request processing. When the context is torn down, it means the application is done processing the request, and you can close the database connection.
To close the database connection, you define a new function named close_db() with the parameter e, which stands for error. Even though you don’t actively use e in the function, including it follows Flask’s design pattern for error handling. That way, you provide a way to extend the function’s behavior in the future if you require error-specific handling.
You use g.pop() to retrieve and remove the db connection object from the g object. If db isn’t present, you return None instead.
If there was an active database connection for this request, then you close it in the end.
Now, you’ve outlined a healthy life cycle for a database connection for your Flask project. Besides being able to manually reset and initialize your database, you can connect to the database from within your Flask web application and close the database connection when it’s not needed anymore. With this functionality in place, it’s time to add data to the database.
Post and Display Messages
The decorator above create() in posts.py contains a methods argument that allows the view to receive GET and POST methods. That way, you can render a form when you visit the Create Posts page in the browser or work with a form sent from the same page, both from within the create view.
At the moment, you only cater to GET methods. To work with POST methods, add the code below:
board/posts.py
 1from flask import (
 2    Blueprint,
 3    redirect,
 4    render_template,
 5    request,
 6    url_for,
 7)
 8
 9from board.database import get_db
10
11bp = Blueprint("posts", __name__)
12
13@bp.route("/create", methods=("GET", "POST"))
14def create():
15    if request.method == "POST":
16        author = request.form["author"] or "Anonymous"
17        message = request.form["message"]
18
19        if message:
20            db = get_db()
21            db.execute(
22                "INSERT INTO post (author, message) VALUES (?, ?)",
23                (author, message),
24            )
25            db.commit()
26            return redirect(url_for("posts.posts"))
27
28    return render_template("posts/create.html")
29
30@bp.route("/posts")
31def posts():
32    posts = []
33    return render_template("posts/posts.html", posts=posts)
Besides some Flask functions, you import get_db() in line 9. You use get_db() in line 20 to get a database connection if the request method is POST and the form contains message content.
In line 16, you’re setting the author to Anonymous if the user didn’t fill out the author field of the form. If you’d like to prevent users from posting anonymously, then you can remove the or expression and add an and expression to line 19 to require author to be set.
Inside the if statement of line 19, you’re connecting to the database in line 20. With the database connection present, you set the SQL command to insert the author and its message to the post table. To write the data to the database, you need to execute .commit() in line 25.
Finally, you redirect the request to the URL of your posts. That way, the author can see their post go public once you’ve made a small change to the posts view:
board/posts.py
 1from flask import (
 2    Blueprint,
 3    redirect,
 4    render_template,
 5    request,
 6    url_for,
 7)
 8
 9from board.database import get_db
10
11bp = Blueprint("posts", __name__)
12
13# ...
14
15@bp.route("/posts")
16def posts():
17    db = get_db()
18    posts = db.execute(
19        "SELECT author, message, created FROM post ORDER BY created DESC"
20    ).fetchall()
21    return render_template("posts/posts.html", posts=posts)
To receive data from the database, you must connect to it first. That’s what you do in line 17.
Then, you set another SQL command in line 18 and chain the .fetchall() method to it in line 20. With these lines of code, you’ll receive all posts from your post table in descending order and save them to the posts variable in line 18.
Formerly, you handed over an empty list to the posts.html template. Now, the template receives all posts from the database. To create posts, open your browser and visit http://localhost:8000/create. After creating a few posts, you’ll see all your messages listed on http://localhost:8000/posts:
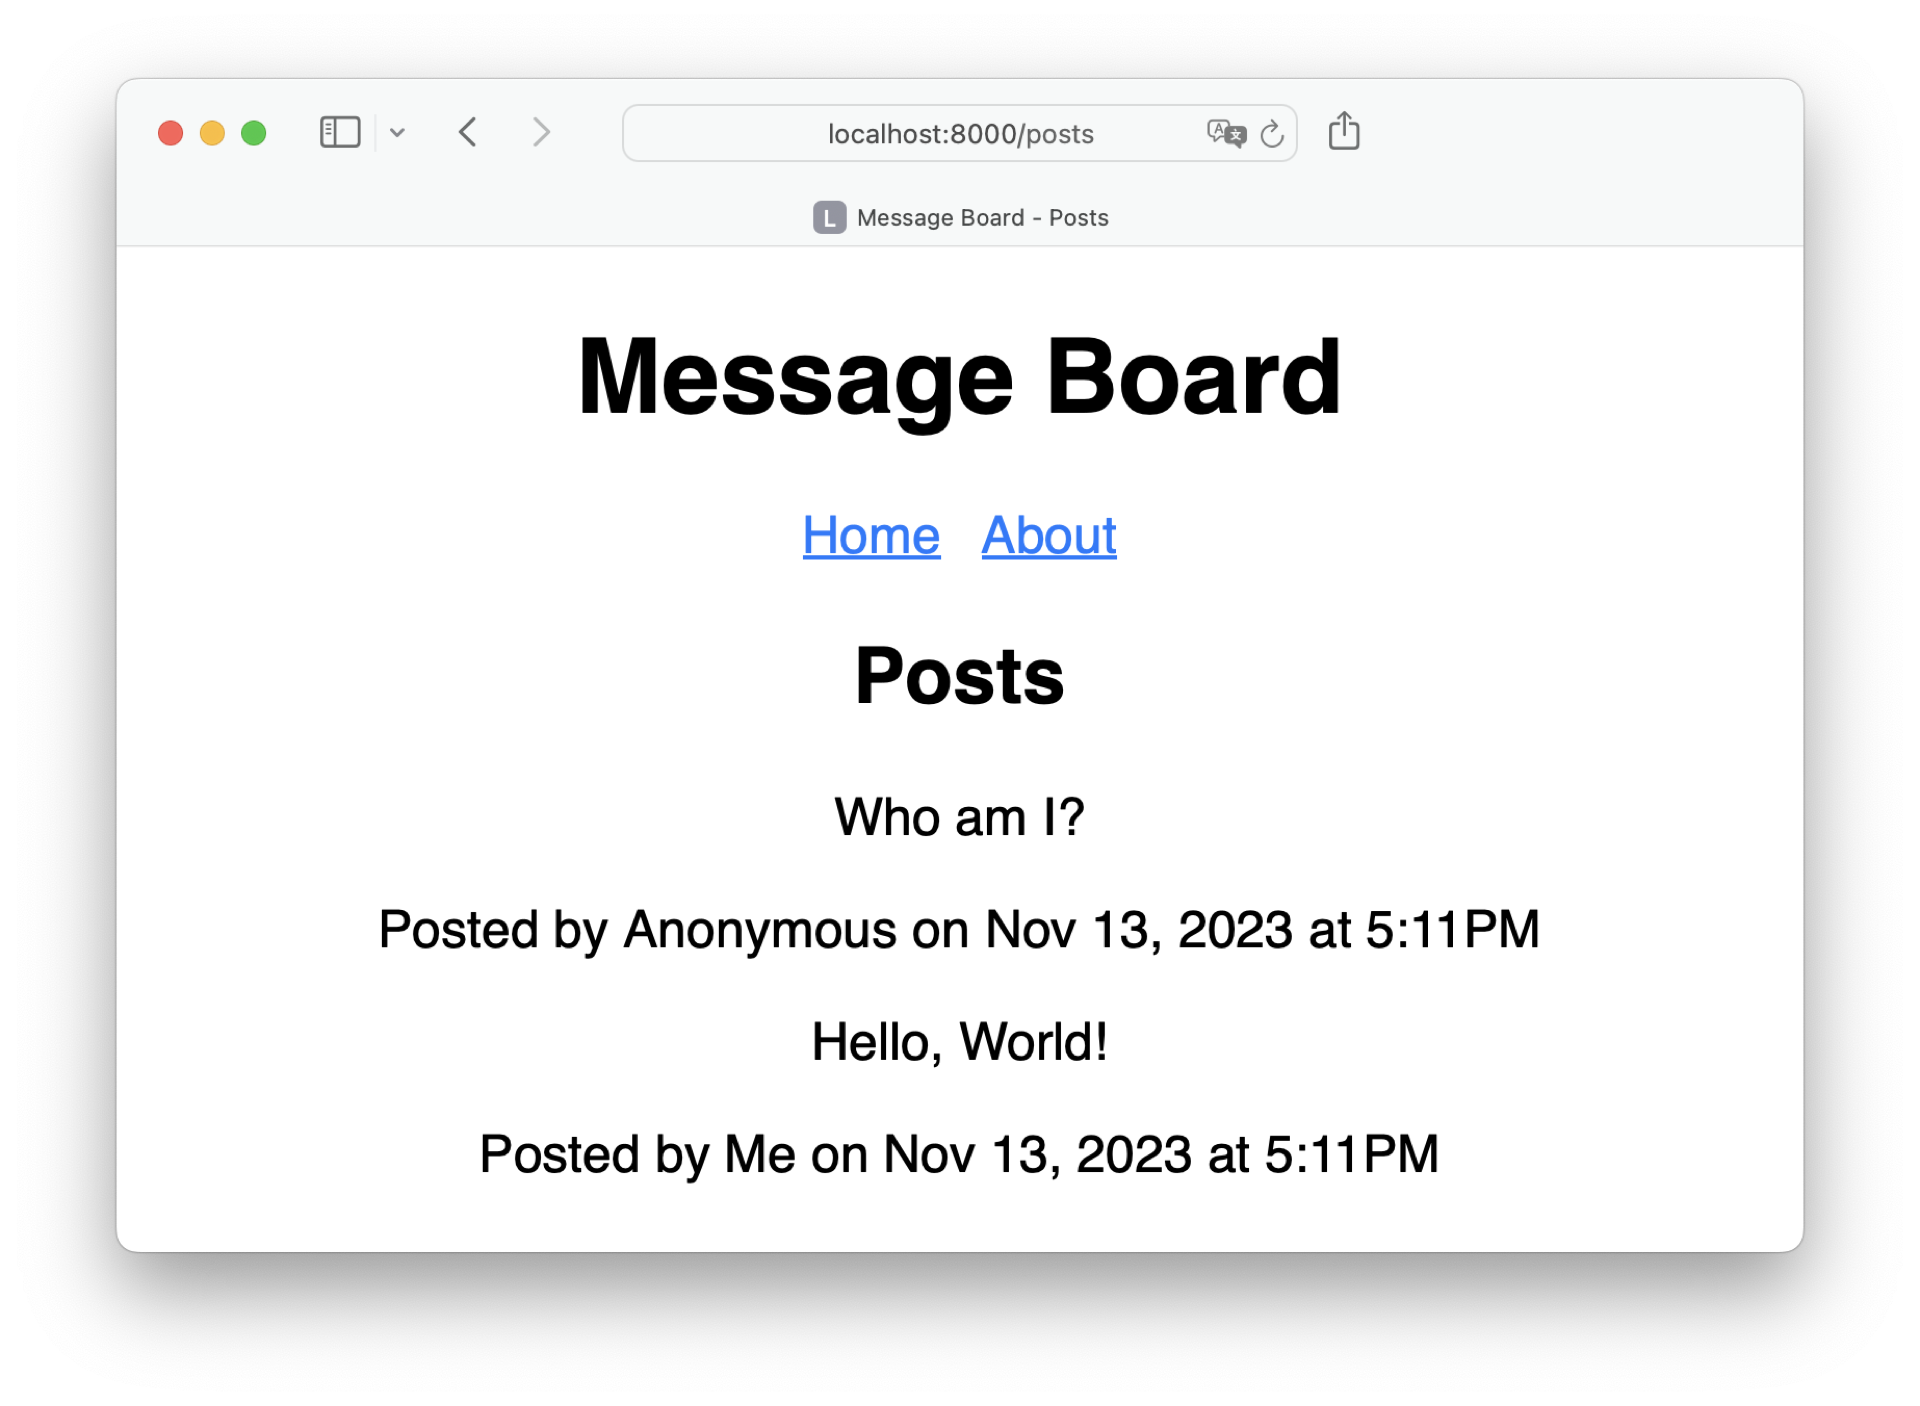
Awesome, now you’ve got a working message board! It’s still a bit rough around the edges. Read on to fix that!
Add Some Final Touches
With the main functionality of your message board in place, you can focus on some details. First, you’ll improve the navigation of your site. After that, you’ll add some CSS declarations to your style sheet to make your web app look cleaner.
Improve the Navigation
Currently, you need to type in the addresses by hand when you want to create or see the posts. With the help of the existing template inheritance, adding the create view and the posts view to the navigation only requires two additional lines in your _navigation.html file:
templates/_navigation.html
<nav>
  <ul>
    <li><a href="{{ url_for('pages.home') }}">Home</a></li>
    <li><a href="{{ url_for('pages.about') }}">About</a></li>
    <li><a href="{{ url_for('posts.posts') }}">All Posts</a></li>
    <li><a href="{{ url_for('posts.create') }}">Add Post</a></li>
  </ul>
</nav>
Since you include the navigation in your base template, the navigation updates on all your pages. You can go to http://localhost:8000/about to verify that the navigation menu contains links to all four pages:
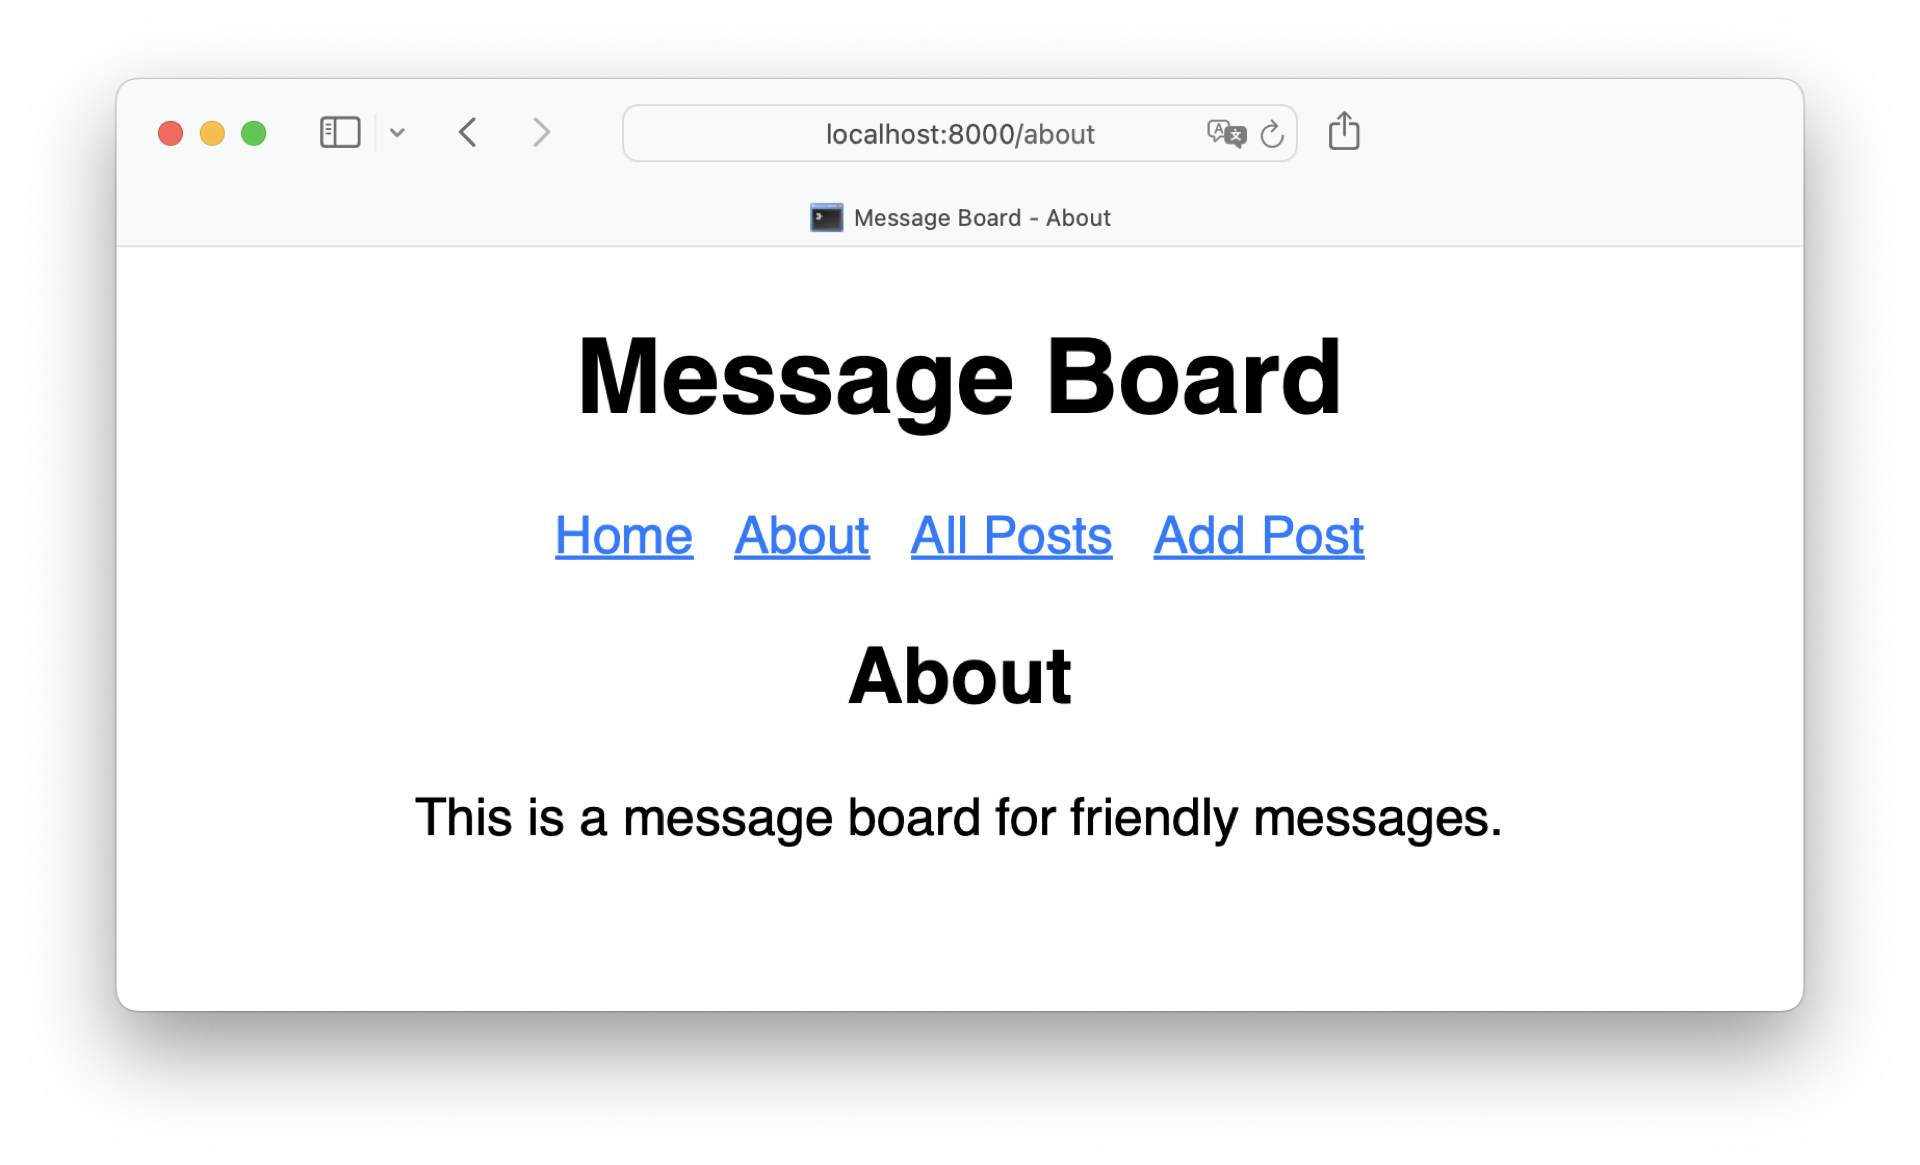
Perfect, with the updated navigation, you can jump between all of your pages. For example, clicking on Add Post brings you to the page where you can see your form. Having a closer look at the form reveals that there’s some room for improvement to render the input fields of the form nicely.
Enhance the Design
In your base template, you reference the navigation template. That’s why it’s rendered on all pages. You similarly distribute the styling over your web app. In base.html, you’re linking to a CSS stylesheet in your static/ folder.
Open styles.css and add some CSS declarations for form elements and your messages:
board/static/styles.css
/* ... */

article,
form {
  text-align: left;
  min-width: 200px;
  padding: 20px;
  margin-bottom: 20px;
  box-shadow: 0px 0px 10px #ccc;
  vertical-align: top;
}

aside {
  color: #ccc;
  text-align: right;
}

form {
  display: flex;
  flex-direction: column;
  margin-top: 20px;
}

.form-group {
  margin-bottom: 20px;
}

.form-control {
  width: 100%;
  padding: 10px;
  border: 1px solid #ccc;
  font-size: 1em;
}

.submit-btn {
  background-color: #007bff;
  color: #fff;
  border: none;
  border-radius: 4px;
  padding: 10px 20px;
  cursor: pointer;
  font-size: 1em;
}

.submit-btn:hover {
  background-color: #0056b3;
}

.message {
  font-size: 2.5em;
  font-family: serif;
  margin: 0;
  padding: 0;
}
With these CSS declarations, you’re cleaning up the form by giving the input elements enough space. You also make the messages and the information about authors more distinguishable.
Open your browser one last time, visit http://localhost:8000/create, and adore your new design:
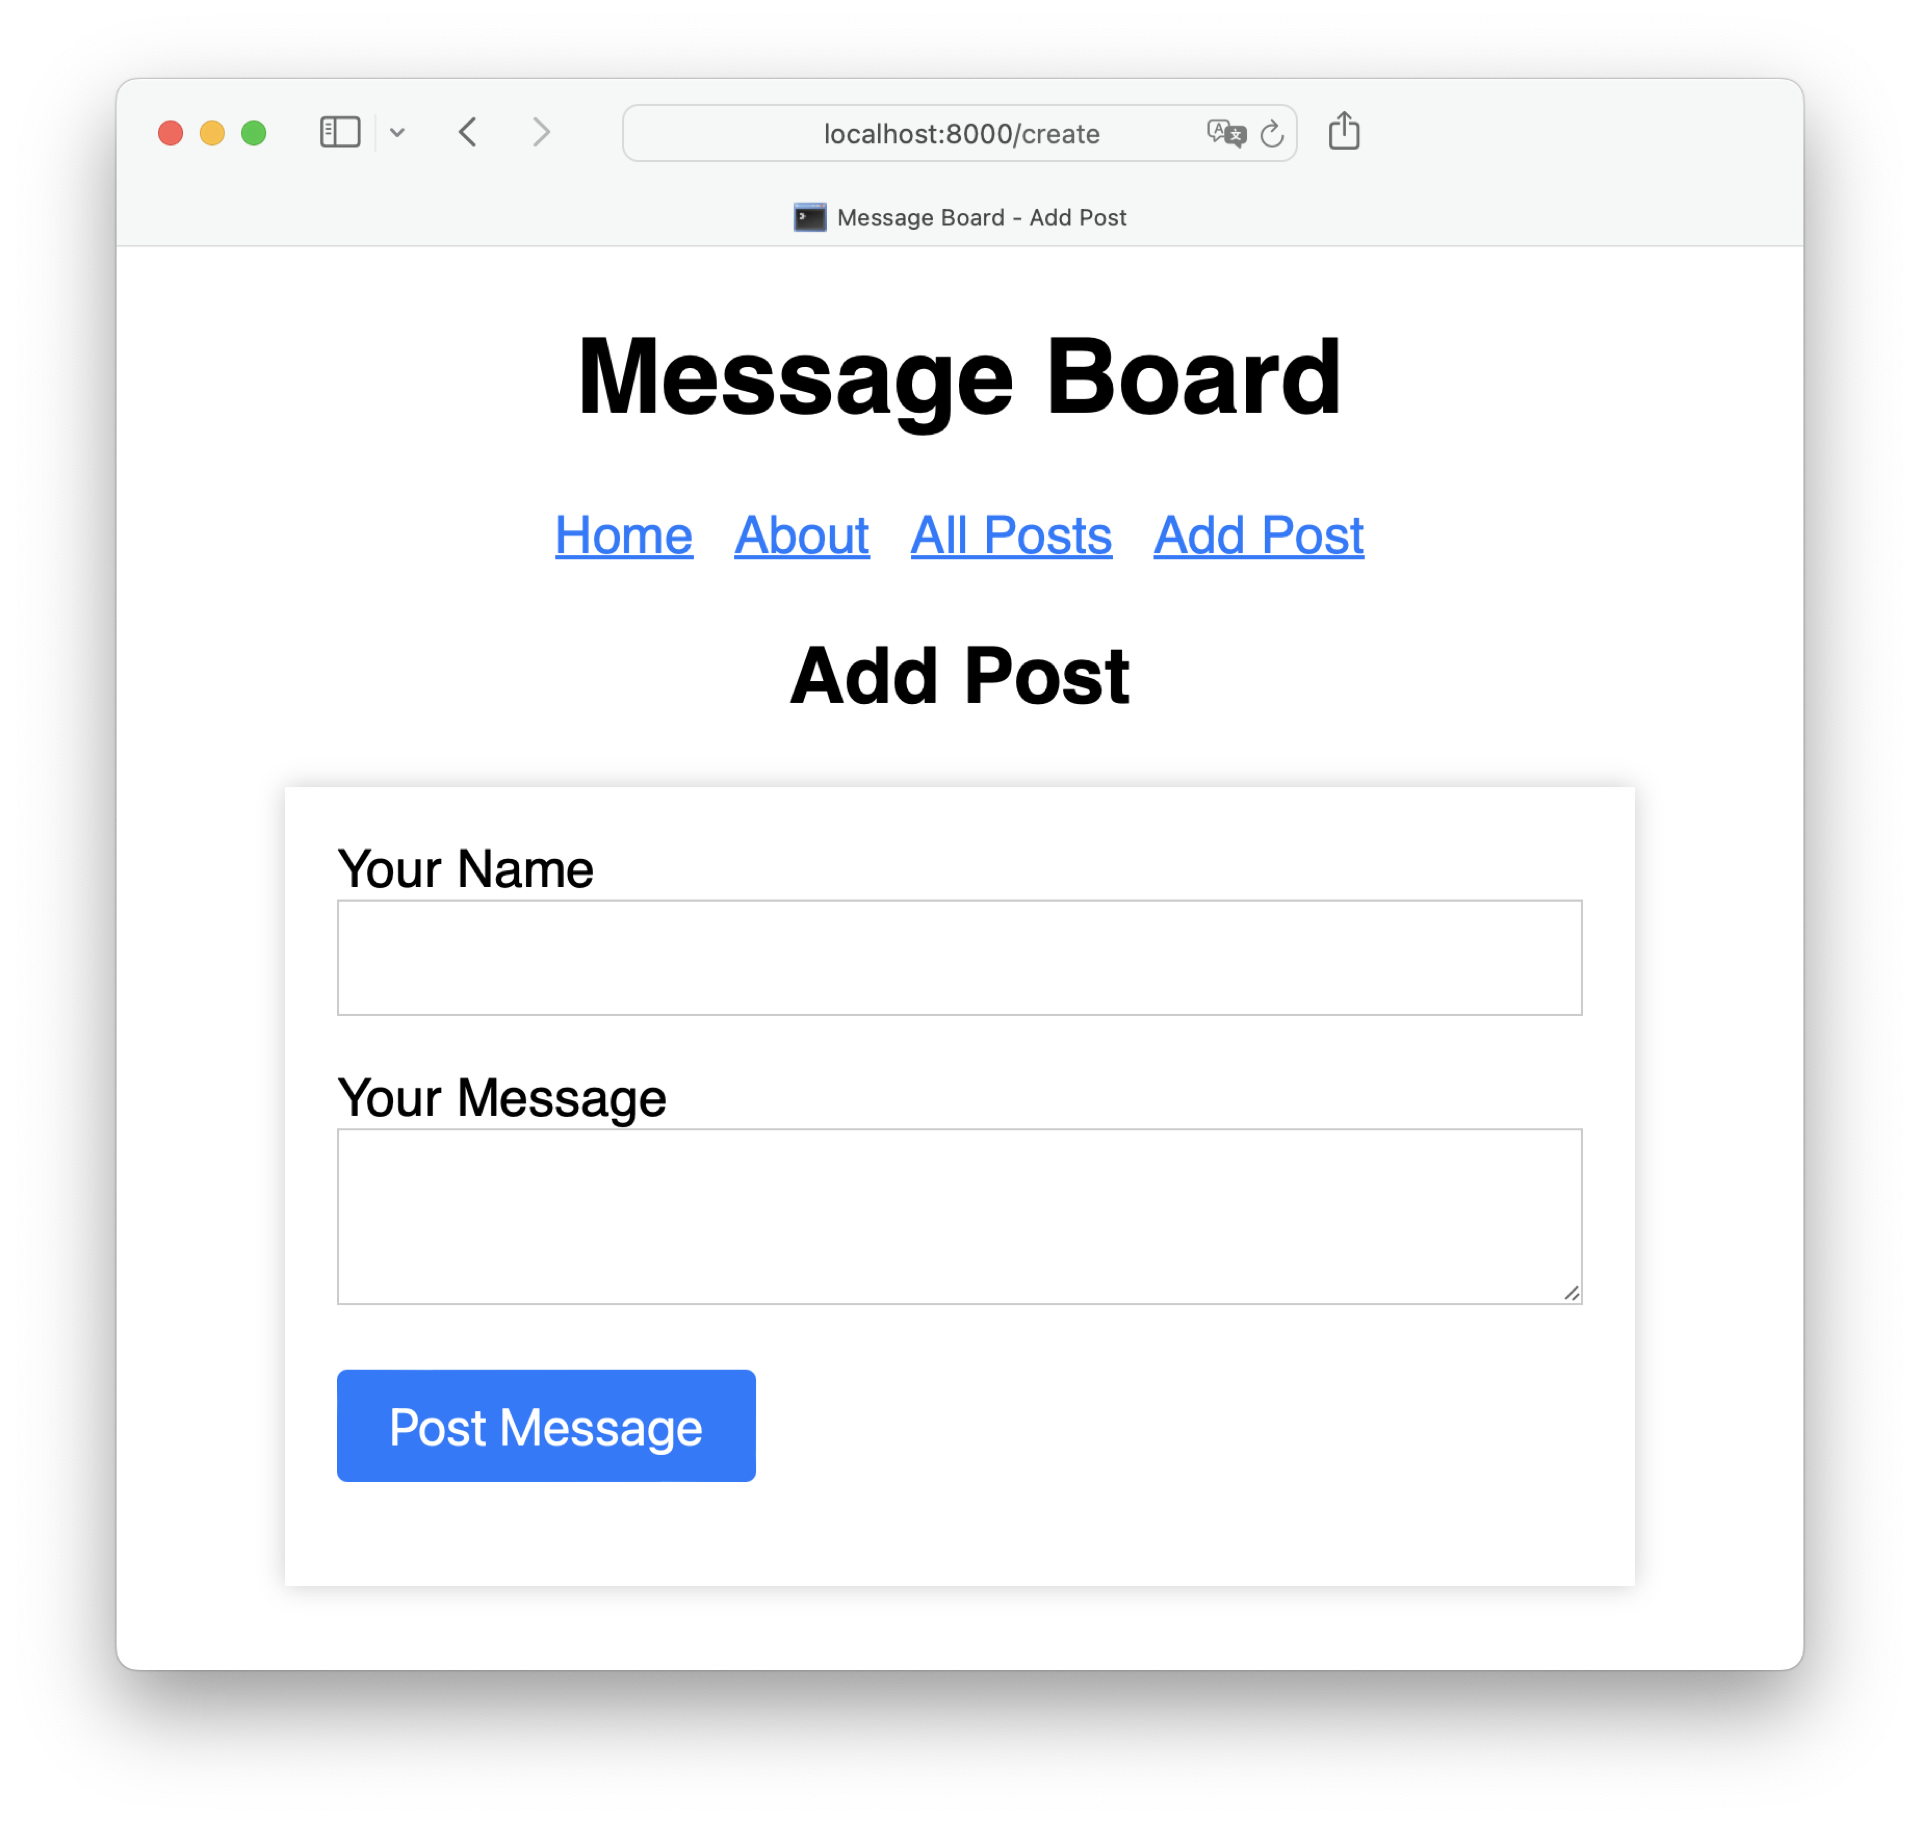
With a tidy form like this, posting messages will be even more fun! Go ahead and play around with your new Flask web app. With the connected database in the background, you save any message that you post. You can even stop the Flask server. Your data will still persist and be present when you restart the server next time.
Conclusion
Congratulations! You’ve successfully navigated the process of integrating a database into your Flask project. This is a significant achievement, as it allows you to store data persistently, interact with users more effectively, and implement more complex functionalities.
In this tutorial, you’ve learned how to:
- Hide secrets in environment variables
- Formulate your database structure with models
- Connect your Flask app with a database
- Receive data from users with forms
When clicking around in your Flask message board, you may have encountered a few situations where it’d be nice to get some feedback. For example, mistyping a URL could prompt a friendly error message. Or how about receiving a success message when you post something on the board? If these ideas spark your interest, then make sure to read Add Logging and Notification Messages to Flask Web Projects next.
Get Your Code: Click here to download the free source code for connecting a database to your Flask project.