Django for Web Development
Learning Path ⋅ Skills: Django, Web Development, REST APIs, Migrations, User Management, Admin
Django gives you a complete toolkit for building web applications in Python. This learning path takes you from your first Django project to advanced features like custom admin interfaces and HTTP APIs.
By completing this path, you’ll be able to:
- Set up, structure, and maintain Django projects
- Build user management systems with view authorization
- Write and manage database migrations confidently
- Customize the Django admin for real-world needs
- Create HTTP APIs using Django REST Framework
This path is for Python developers who want to go deep with Django and build production-ready web applications. You should already know Python fundamentals.
You’ll start with project setup and a portfolio app, then work through project structure, migrations, and feature development before moving into admin customization and advanced topics like installable apps and REST APIs.
Django for Web Development
Learning Path ⋅ 17 Resources
Getting Started With Django
Start your Django journey by creating your first project, building a portfolio app, and learning how Django manages users and permissions.

Course
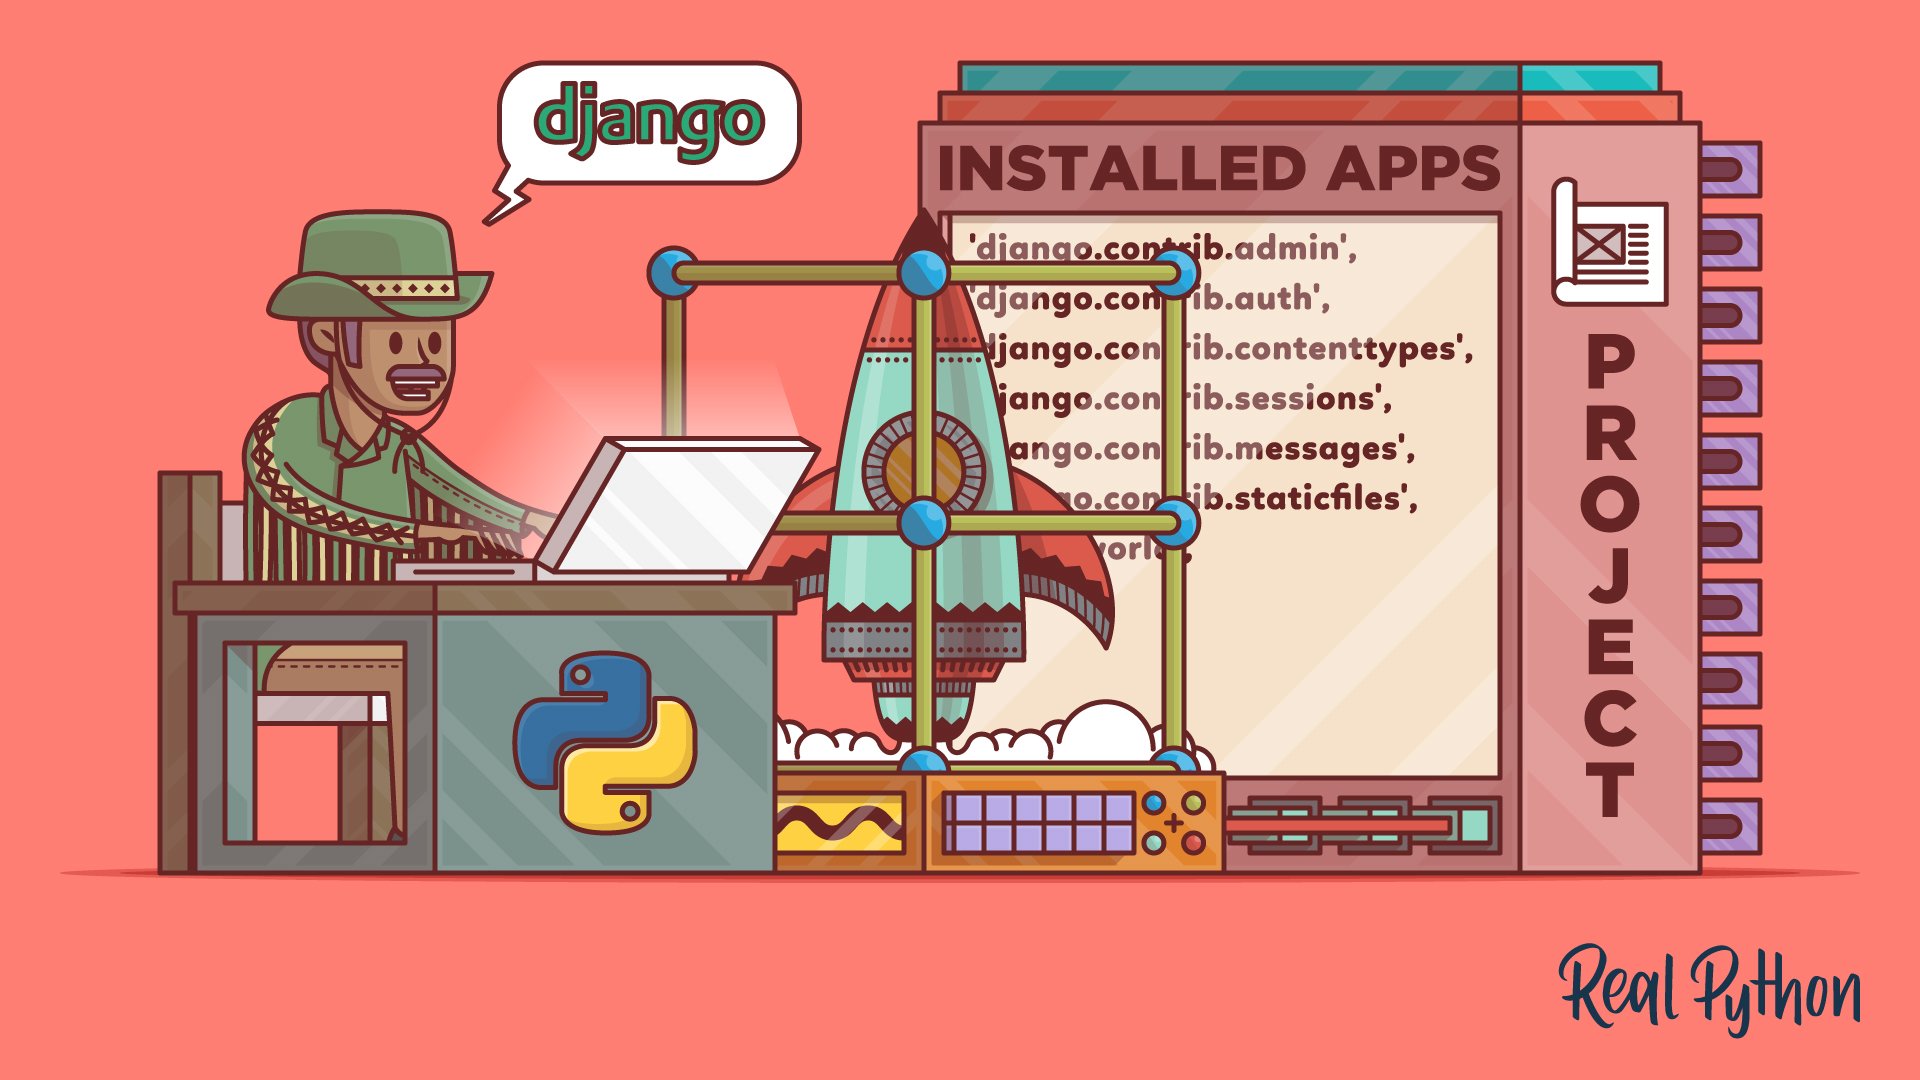
How to Set Up a Django Project
Learn the necessary steps you'll need to take to set up a new Django project. You'll learn the basic setup for any new Django project that needs to happen before programming the specific functionality of your project.
Interactive Quiz
How to Create a Django Project
Course
Getting Started With Django: Building a Portfolio App
Learn the basics of creating powerful web applications with Django, a Python web framework. You'll build a portfolio website to showcase your web development projects, complete with a fully functioning blog.
Interactive Quiz
Get Started With Django: Build a Portfolio App
Course
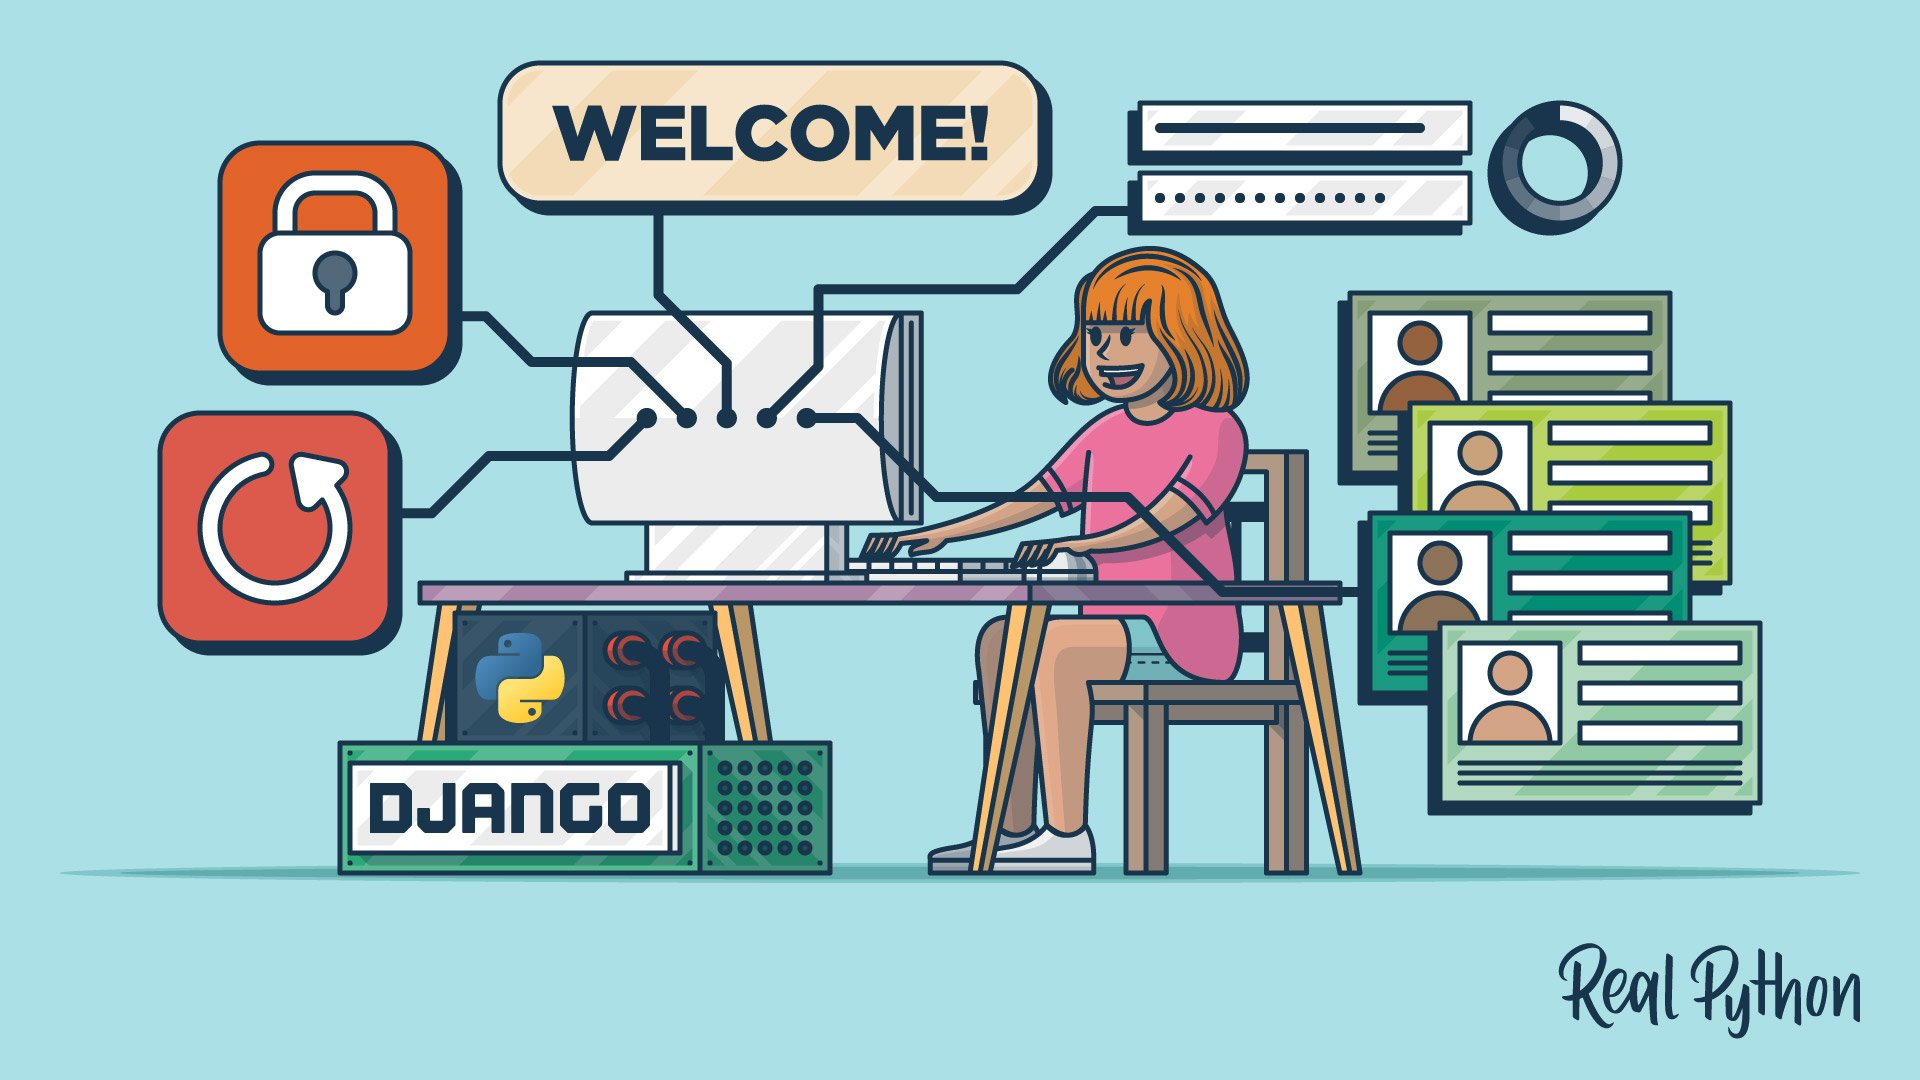
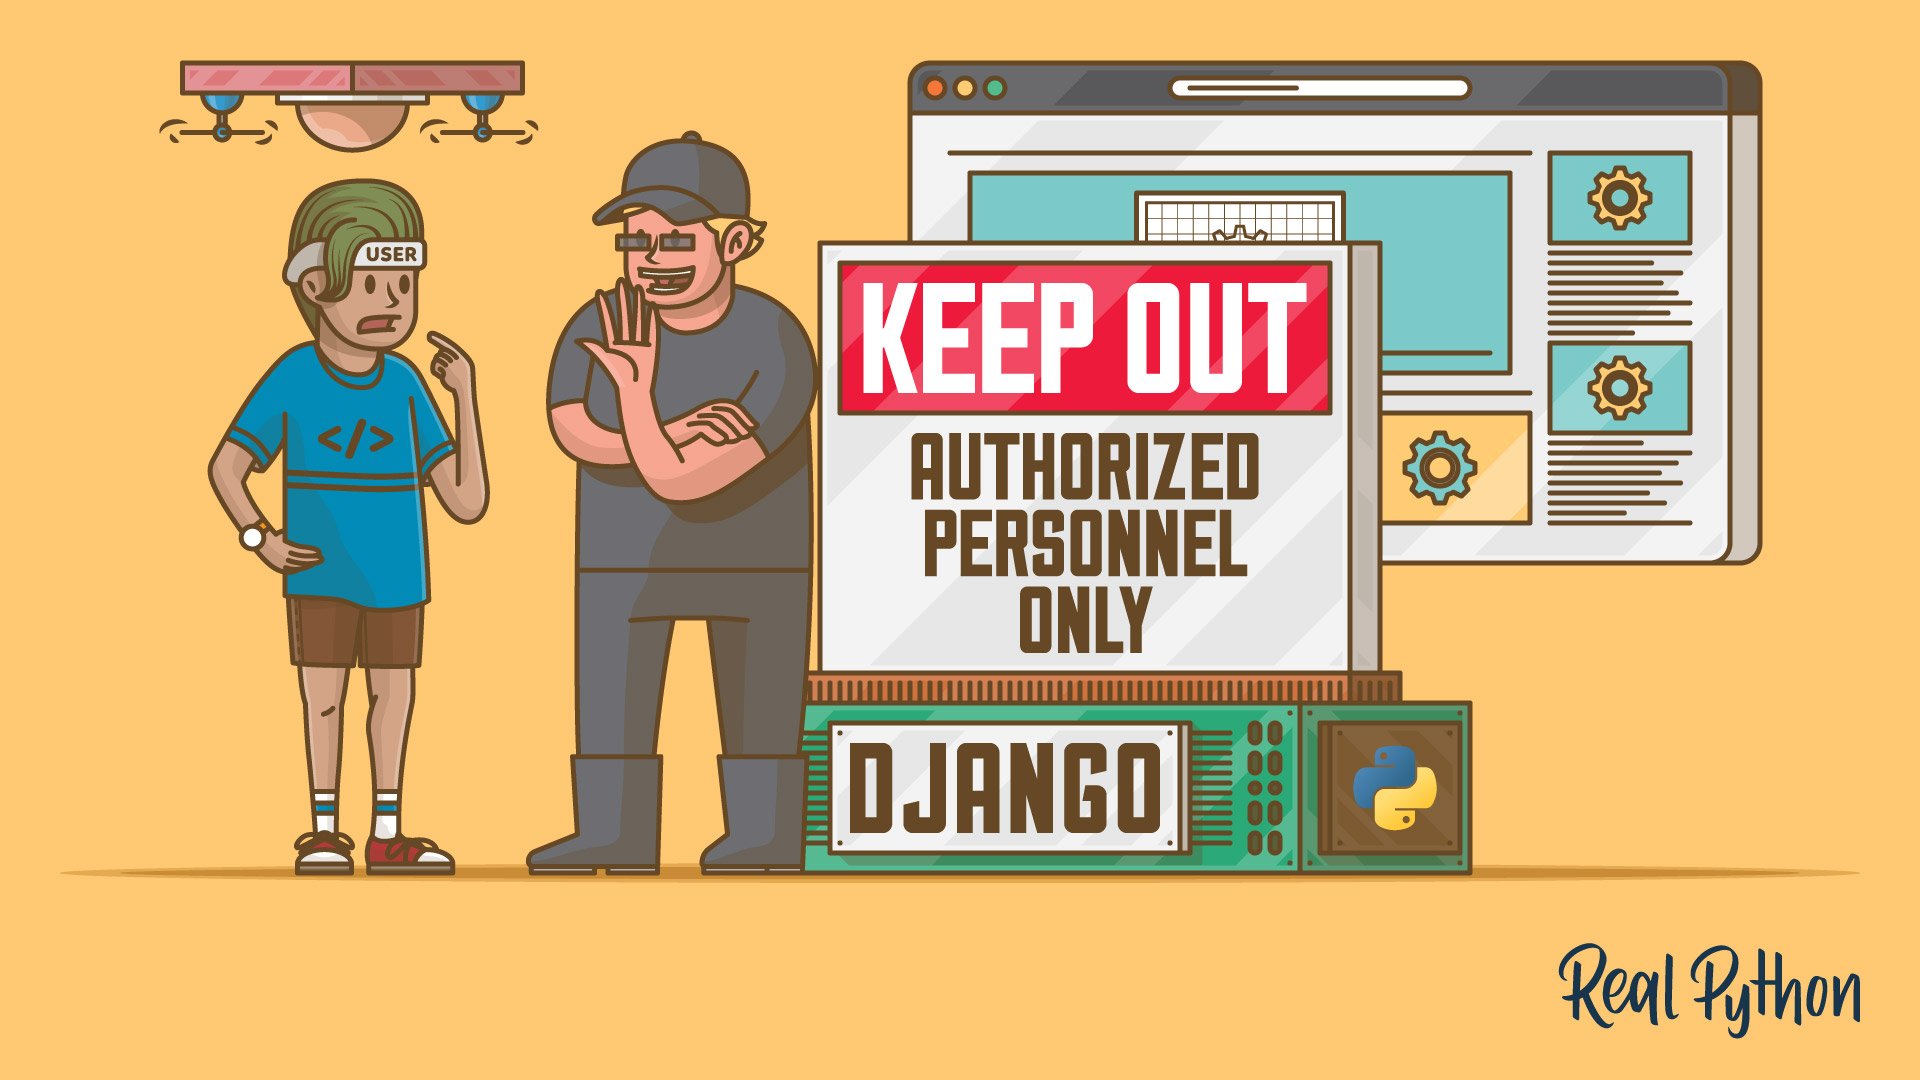
Building a Django User Management System
Learn how to extend your Django application with a user management system, complete with email sending and third-party authentication.
Course
Django View Authorization: Restricting Access
This course covers how to restrict your web pages to users with different roles through Django view authorization. You'll learn about HttpRequest.user objects, decorators that authenticate views, and ways to notify your users with the Django messages framework.

Structuring and Migrating Django Projects
Learn how to organize your Django project for maintainability. You’ll explore application structure, database migrations, and how to make structural changes safely.
Course
Structuring a Python Application
This course is a reference guide to common Python application layouts and project structures for command-line applications, web applications, and more.

Course
Django Migrations 101
With this course you’ll get comfortable with Django migrations and learn how to create database tables without writing any SQL, how to automatically modify your database after you changed your models, and how to revert changes made to your database.
Tutorial
Digging Deeper Into Django Migrations
In this step-by-step Python tutorial, you'll not only take a closer look at the new Django migrations system that is integrated into Django but also walk through the migration files themselves.
Building Django Features
With a solid foundation, you’re ready to build more features. Explore location-based apps, testing, redirects, and polymorphic models.

Course
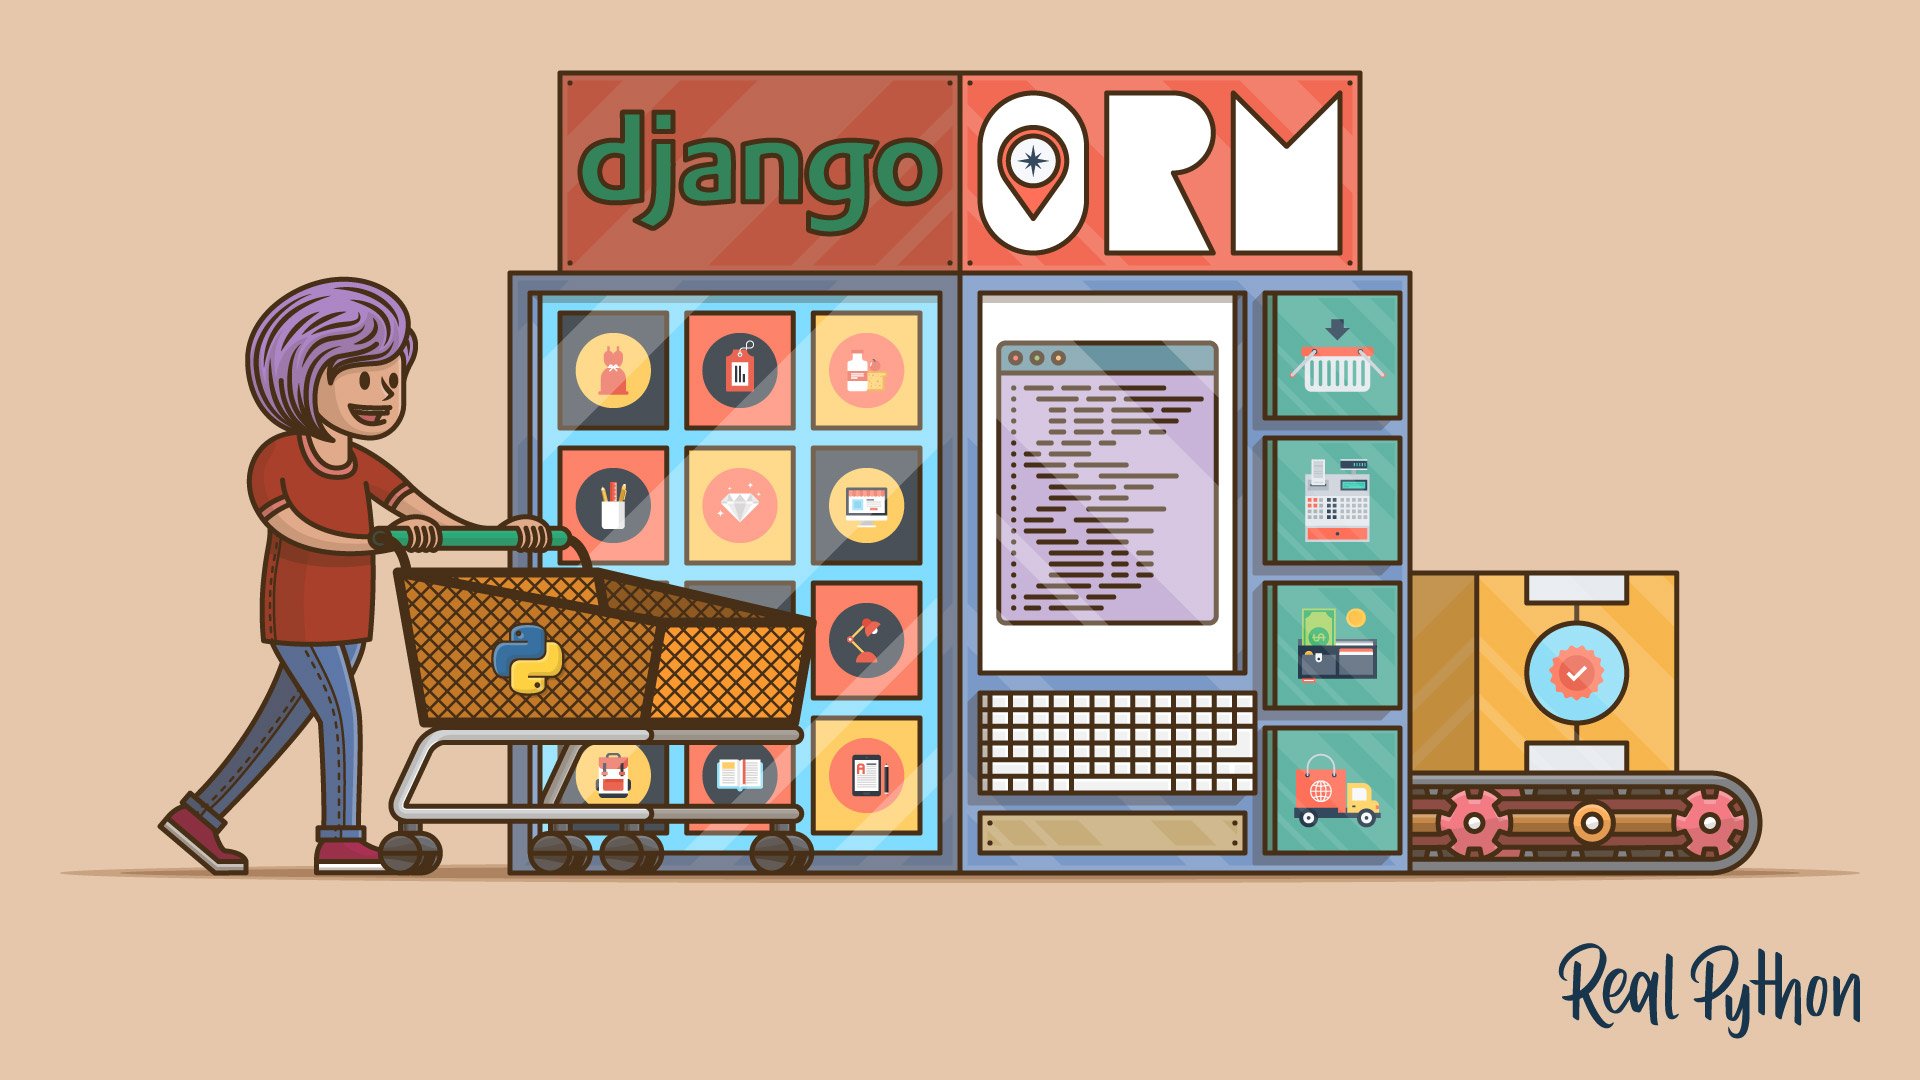
Build a Location-Based Web App With Django and GeoDjango
Learn how to use Django and GeoDjango to build a location-based web application from scratch. You’ll be building a simple nearby shops application that lists the shops closest to a user’s location.
Tutorial
How to Provide Test Fixtures for Django Models in Pytest
Learn how to use fixtures to simplify your testing in pytest. If you use Django, pytest fixtures can help you write tests that are painless to update and maintain even as you make changes to your models.
Course
Django Redirects
Learn everything you need to know about HTTP redirects in Django. All the way from the low-level details of the HTTP protocol to the high-level way of dealing with them in Django.
Tutorial
Modeling Polymorphism in Django With Python
Modeling polymorphism in relational databases can be a challenging task, but in this article, you'll learn several modeling techniques to represent polymorphic objects in a relational database using the Django object-relational mapping (ORM).
Django Admin and Advanced Topics
Customize the Django admin, create indexes, write installable apps, and build HTTP APIs.
Tutorial
What You Need to Know to Manage Users in Django Admin
Learn what you need to know to manage users in Django admin. Out of the box, Django admin doesn't enforce special restrictions on the user admin. This can lead to dangerous scenarios that might compromise your system.
Course
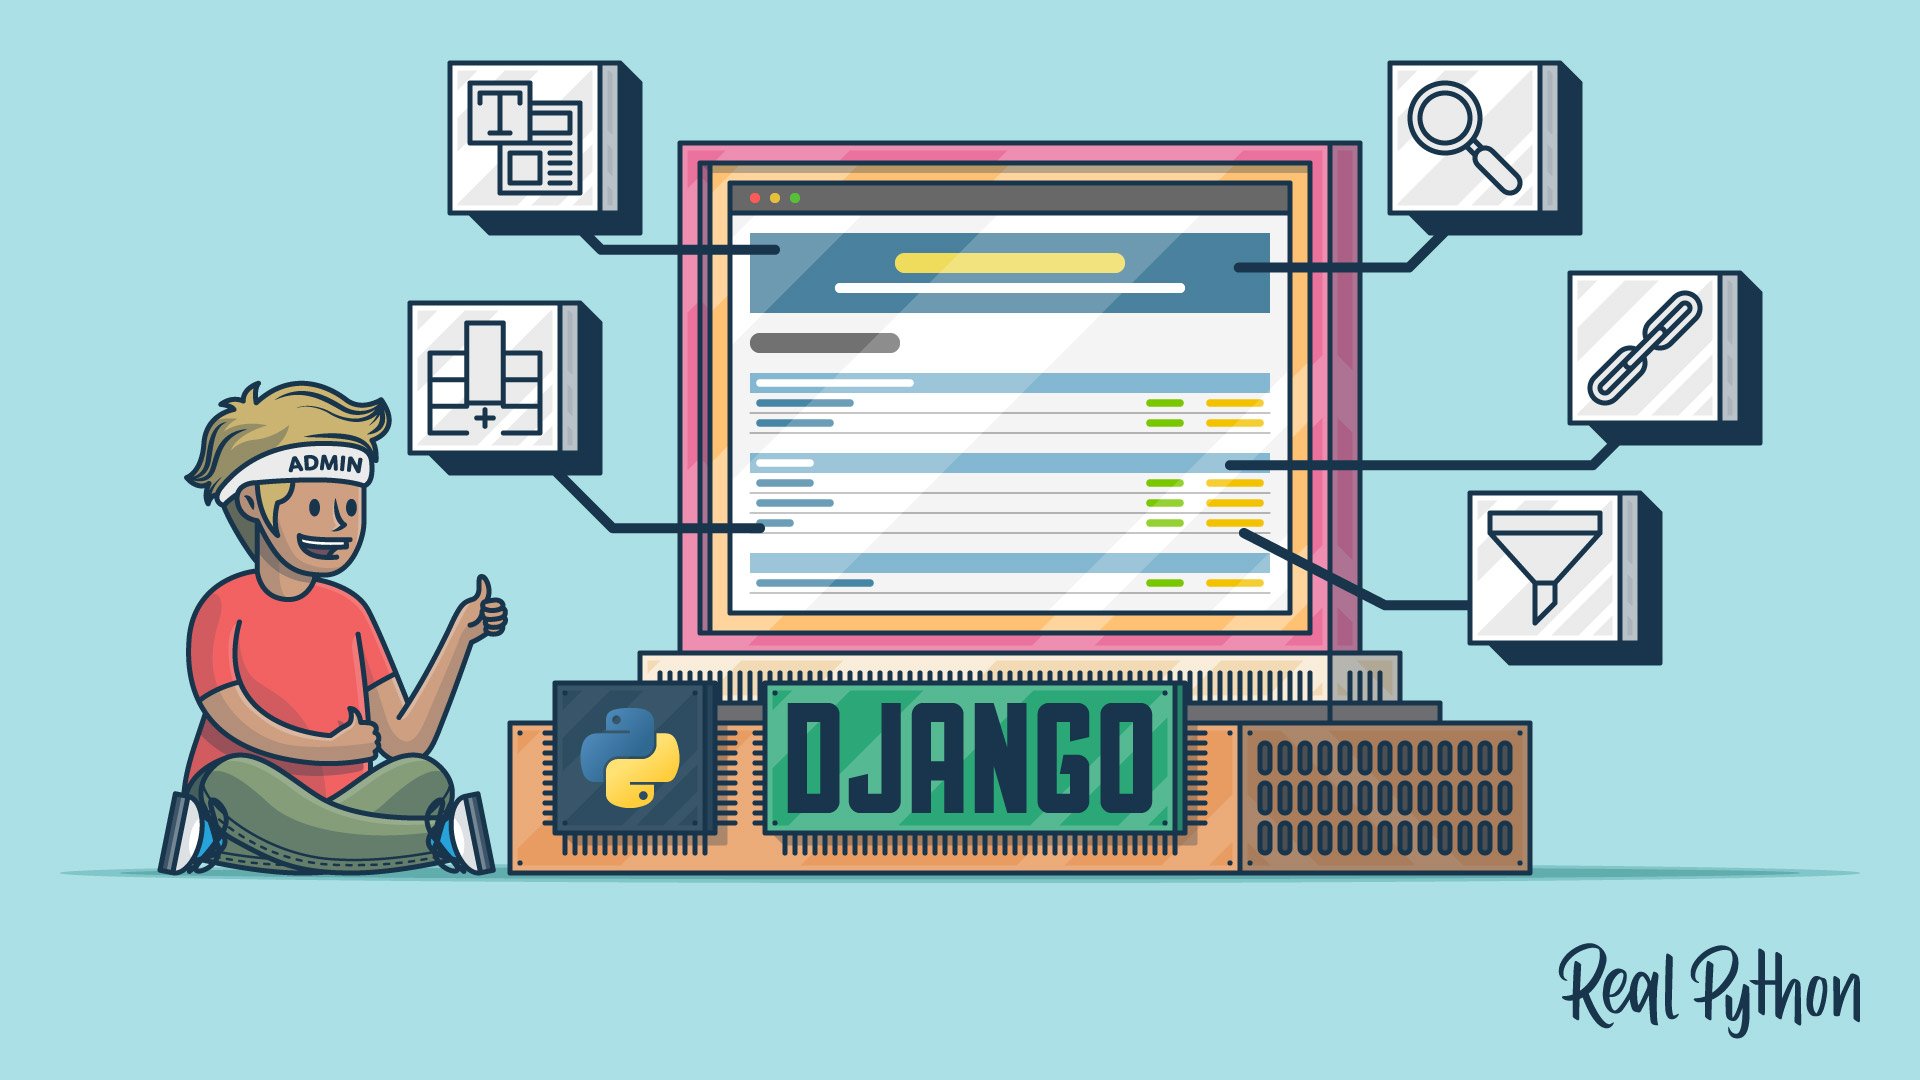
Django Admin Customization
Learn how to customize Django's admin with Python. You'll use AdminModel objects to add display columns, calculate values, link to referring objects, and search and filter results. You'll also use template overriding to gain full control over the admin's HTML.
Tutorial
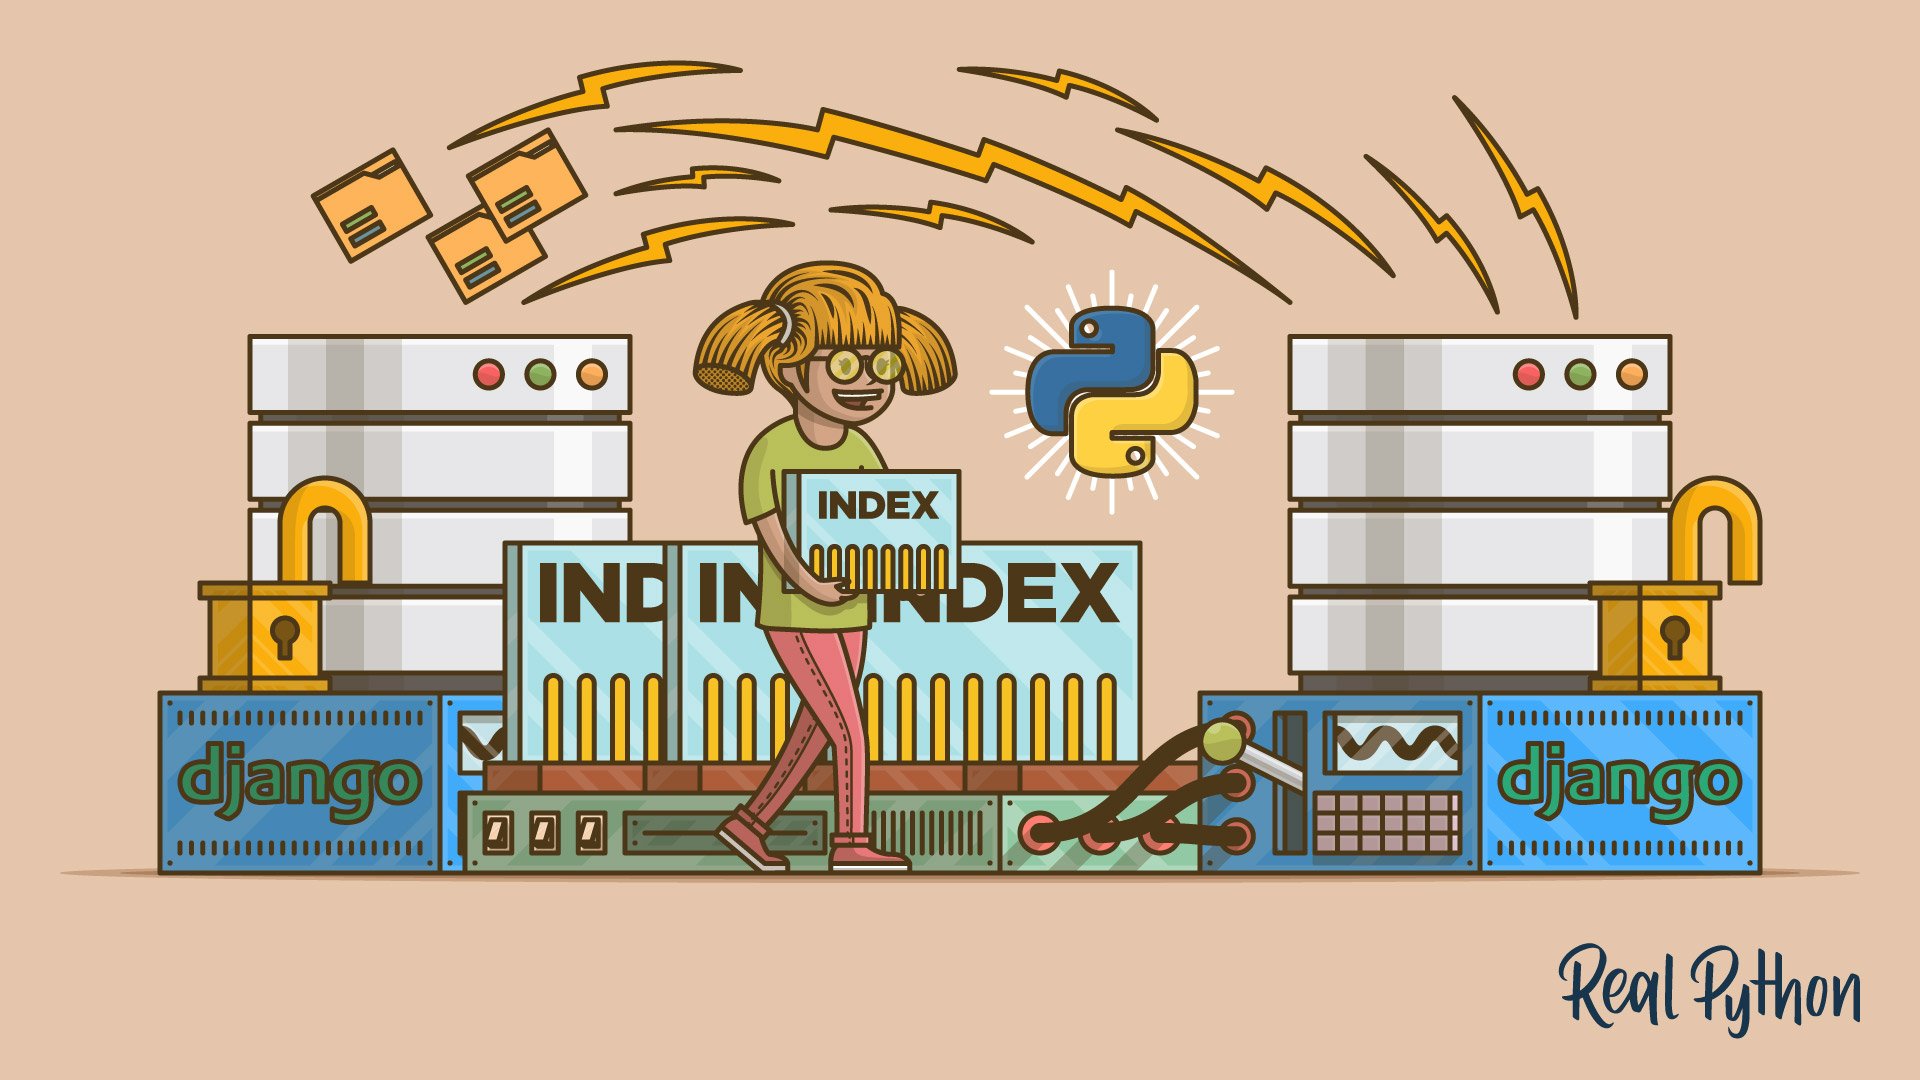
How to Create an Index in Django Without Downtime
Get a solid understanding of the limitations of Django migrations by tackling a well known problem: creating an index in Django with no downtime.
Tutorial
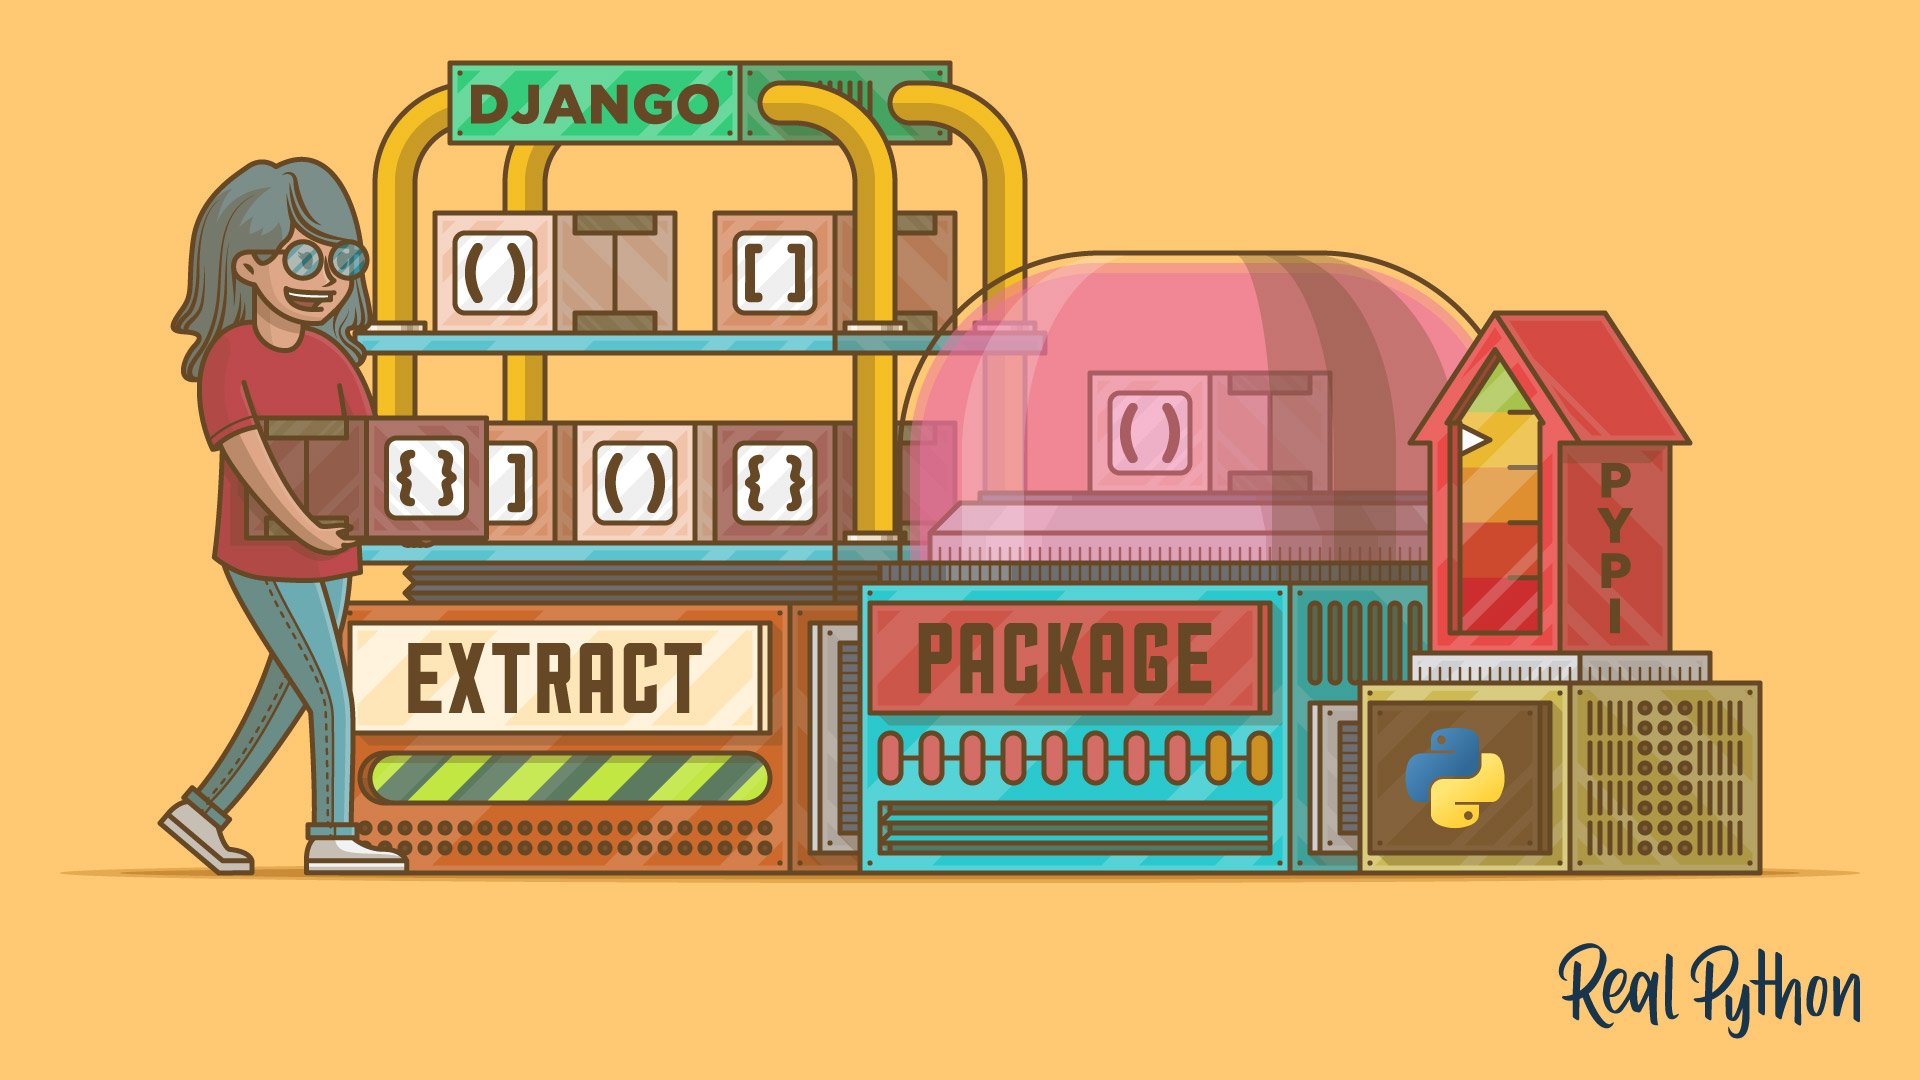
How to Write an Installable Django App
Learn how to create an installable Django app. You'll cover everything you need to know, from extracting your app from a Django project to turning it into a package that's available on PyPI and installable through pip.

Tutorial
How to Move a Django Model to Another App
Learn how to move a Django model from one app to another using Django migrations. You'll explore three different techniques and learn some helpful guidelines for choosing the best approach for your situation and needs.
Course
Building HTTP APIs With Django REST Framework
This course will get you ready to build HTTP APIs with Django REST Framework. The Django REST framework (DRF) is a toolkit built on top of the Django web framework that reduces the amount of code you need to write to create REST interfaces.
Congratulations on completing this learning path! You’ve learned how to build, structure, and extend Django web applications, from project setup to REST APIs.
If you’d like to continue developing your web skills, check out these related learning paths:
Got feedback on this learning path?
Looking for real-time conversation? Visit the Real Python Community Chat or join the next “Office Hours” Live Q&A Session. Happy Pythoning!